
THAI BASIL GUIDE
Thai Basil Growing Guide
Grow Thai basil for fragrant summer leaves and distinctive purple stems. Learn how to start seed, manage warmth and moisture, pinch for branching, handle flower spikes, and harvest for the kitchen.
HerbsVariety guideBeginner → advanced
Published by Hollowstead Seed Co. · How this guide is prepared
Quick answer
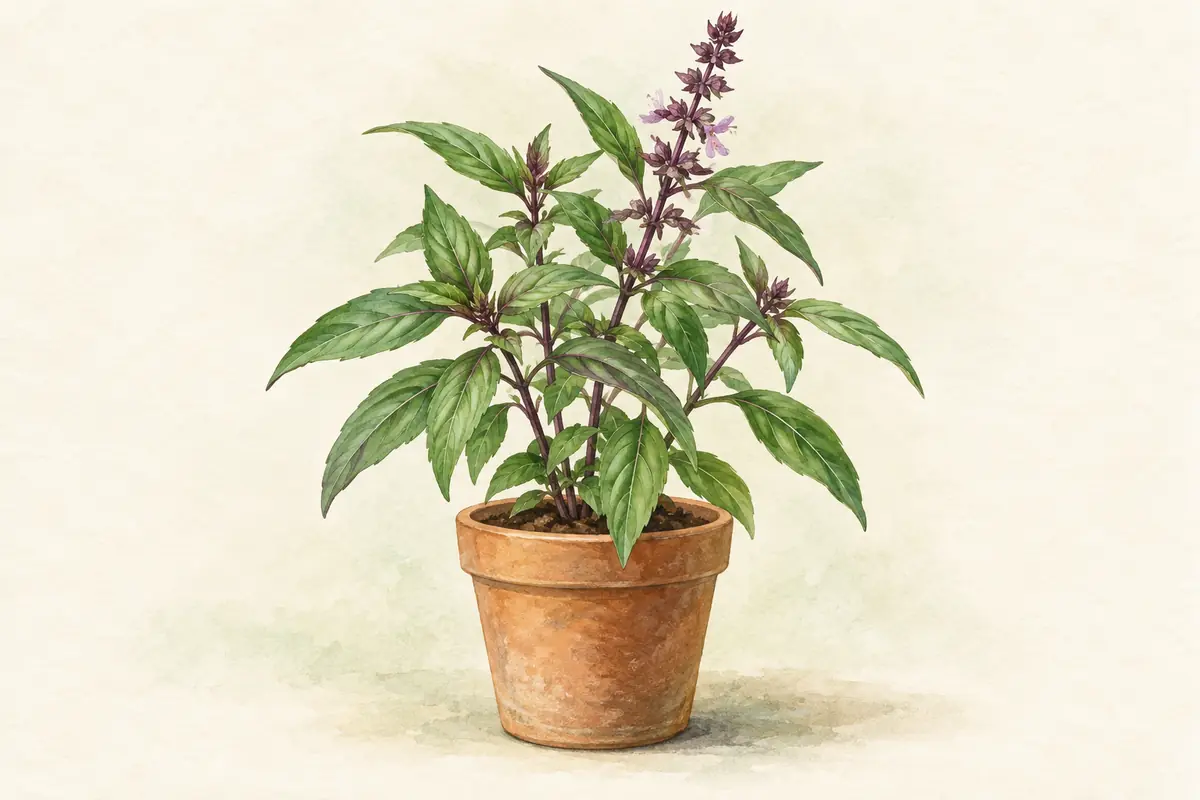
Thai basil is a frost-tender, warm-season basil with green leaves, purple stems, and a distinctive aromatic character. Give it full sun, warm soil, steady moisture, and regular harvests. Hollowstead’s current catalog guidance uses about ¼ inch sowing depth and roughly 8–18 inches between plants depending on the size you want.
Harvest by cutting tender stem tips just above a pair of leaves. New branches develop from the nodes below the cut, so repeated harvest and pinching can keep the plant compact and productive.[1]
The short version: wait for warmth, give Thai basil sun, pinch above nodes, and harvest often before flowering takes over.
Thai basil at a glance
| Question | Useful starting point |
|---|---|
| Season | Warm-season annual |
| Light | Full sun |
| Sowing depth | About ¼ inch |
| Spacing | About 8–18 inches |
| Habit | Upright and branching |
| Support | Usually none |
| Harvest | Tender leaves and stem tips |
| Flowering | Pinch flowers if leaf production is the priority |
- Season
- Frost-tender, warm-season annual
- Best shape
- Branching plant maintained by tip harvest
- Water
- Steady moisture with drainage
- Leaf strategy
- Harvest stems above nodes
- Flower strategy
- Pinch for leaves; allow selected plants to bloom for seed
A staged Thai basil checklist
- Before sowingChoose a warm outdoor planting window and a spot with strong light; start indoors if spring stays cool.
- After emergenceGive the seedlings light immediately. Keep the mix moist and airy, and avoid leaving a crowded clump in one tiny cell.
- Before transplantingAcclimate gradually to sun and wind. Plant a cohesive root ball only after frost risk and persistent cold ease.
- At the first cutFind a strong tip with healthy leaf pairs below it. Take a small cut and watch the side shoots develop.
- During repeat harvestRotate cuts among branches, check pot moisture, and remove flower spikes from the leaf plants.
- As the season endsHarvest healthy leaves before damaging cold. Let only the plants chosen for seed finish their spikes.
SAVE FOR SOWING DAY
Five-step crop plan for Thai Basil
Open the sow-to-harvest plan
- StartSow about ¼ inch deep in warm, moist seed-starting mix; provide strong light immediately after emergence. Guide details
- PlantAcclimate seedlings and plant after frost danger and persistent cold ease, leaving room for branching. Guide details
- MaintainPinch a strong tip just above healthy leaf pairs and rotate cuts among branches; check pot moisture and remove spikes on leaf-focused plants. Guide details
- HarvestCut tender leafy tips above a node while retaining foliage for regrowth; harvest healthy leaves ahead of damaging cold. Guide details
- Next sowing or seedAllow selected healthy plants to finish flower spikes for seed; flowering compatible basil nearby introduces crossing uncertainty. Guide details
- Space
- Current guide allows about 8–18 inches depending on desired plant size; support is usually unnecessary.
- Timing
- Warm-season, frost-tender annual: use local frost and persistent-cold cues, and pick repeatedly as plants regrow.
Full growing guidehttps://hollowsteadseeds.com/thai-basil-growing-guide/Seed packethttps://hollowsteadseeds.com/product/thai-basil-seeds/Find planting dates by ZIP code
Plant reference photo
Thai basil growth habit
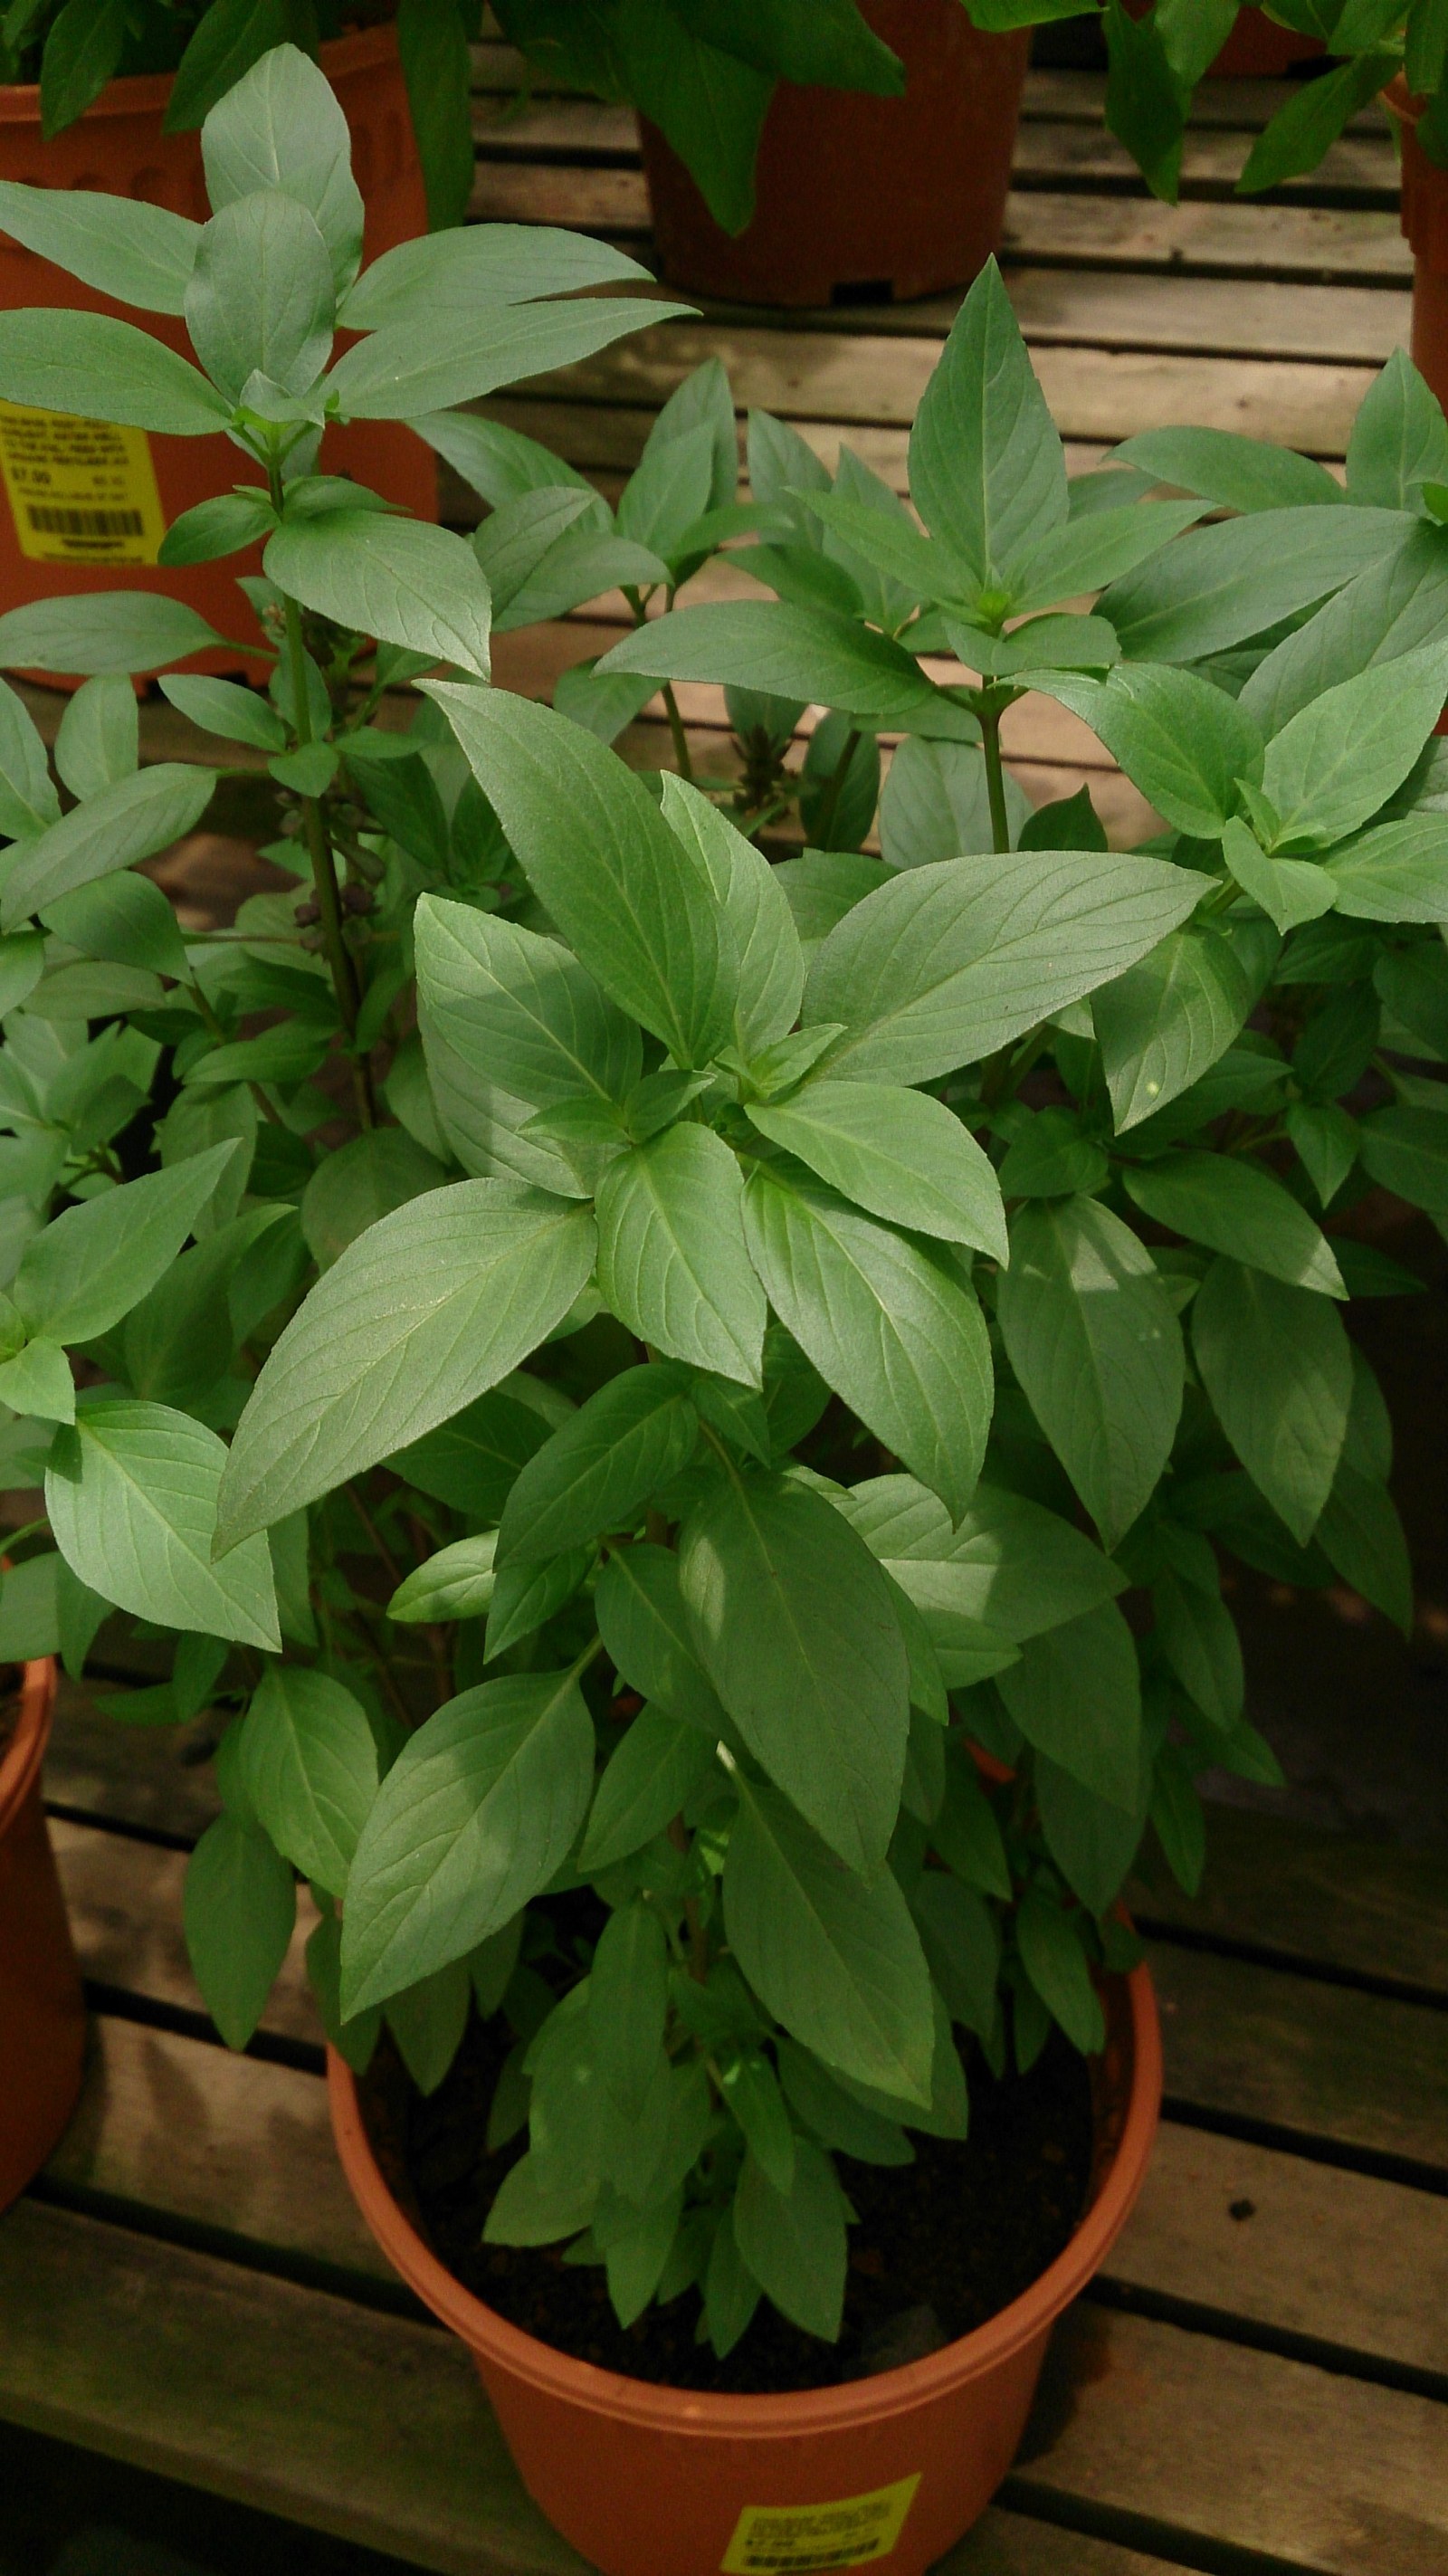
Thai basil forms an upright, branching plant with deep-purple stems and flower spikes that make it visually distinct from standard sweet basil. Like other basils, it is tender to cold and grows most strongly after weather settles into summer warmth.[1]
Thai basil is an Ocimum basilicum leaf herb; holy basil or tulsi is separately listed as O. tenuiflorum. Check which flavor a recipe calls for instead of substituting one just because it says “Thai herb.”[5]
 View full-size diagram
Starting Thai basil from seed
Sow about ¼ inch deep in a warm, clean seed-starting mix. Keep the surface consistently moist until seedlings are established. If starting indoors, move seedlings under strong light immediately after emergence and transplant only after frost danger has passed.[1]
Read the season before feeding the plant
A transplant can be alive yet produce very little in chilly soil. Wait for active new leaves before expecting kitchen-sized cuts. During a cold spell, protect a container or bring it to a sheltered bright spot; keep watering in proportion to slower growth. An early start indoors is useful only if there will be a warm place to plant out.
Choose a position with at least six hours of direct light. When stems stretch toward a window or neighboring plants, improve light and room before adding feed.[1]
Keep roots moist, drained, and warm
Check soil below the dry-looking surface. If it is still wet, wait; if the root zone is drying, water thoroughly and let excess drain. A plant wilting in wet mix needs its drainage and roots checked. Another drink can make that situation worse.
Once garden soil has warmed, mulch can reduce moisture swings. In pots, pay attention to how quickly the whole root ball dries: a plant that repeatedly wilts within hours may need more root volume or relief from reflected heat, not more small sips.
Warm-season does not mean drought-proof. Basil needs regular moisture for usable leaves, and intense heat can stress it too. [3]
Cut for the next pair of branches
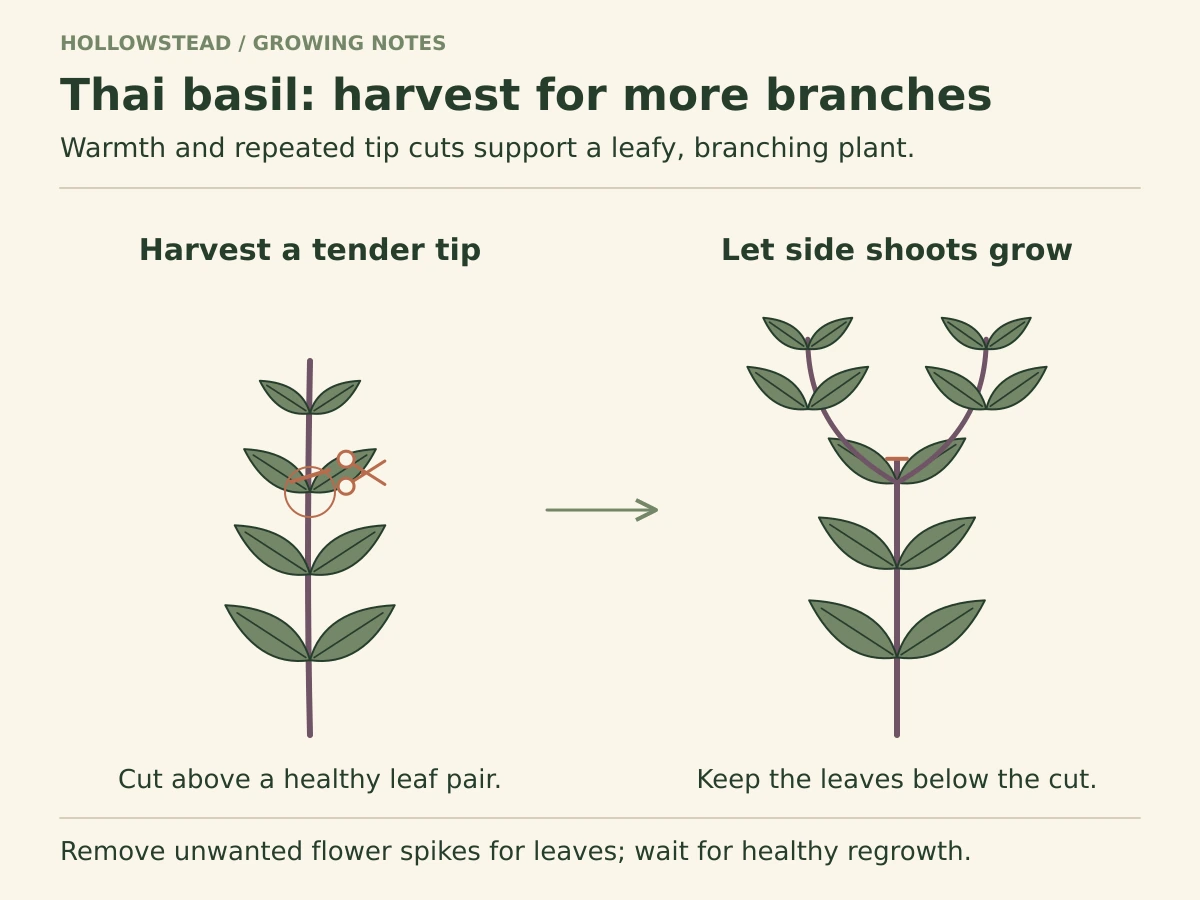
Follow the stem down from the tender tip to a healthy pair of leaves. Cut just above that pair, leaving the leaves and their buds attached. New side shoots below the cut provide the next harvest. On a small plant, leave several healthy leaf pairs and take only one or two tips.
Keep cutting above leaf pairs for aromatic leaves. Let one marked plant flower if blooms or seed are the goal, while continuing leafy cuts on the others.
As the canopy fills, rotate among stems rather than repeatedly cutting the newest growth on one branch. A sensible ceiling for a vigorous plant is about one-third at a picking; it is not a target for a stressed plant. Wait for leafy regrowth before the next substantial cut. [1]
Choose a leaf plant or a flowering plant
For regular leaf harvest, remove a developing flower tip by cutting back above a leafy node. Merely plucking open flowers while leaving a long, bare stalk does little to improve the shape. A healthy, still-leafy plant can branch again; an old woody plant may be less responsive.
For a mixed herb bed, assign different plants different jobs. Keep one in tip harvest and let another bloom for its appearance and visiting insects. Seed plants need time after flowering to mature; leaves, flowers, and ripe seed are separate goals.
Harvest progression: small tips to a full kitchen picking
| Plant stage | What to take | What to leave |
|---|---|---|
| Newly established | One or two tender tips when the plant is actively growing. | Several healthy leaf pairs and a strong main framework. |
| Bushy, leafy canopy | Tips from several branches; pick more often if small garnishes are the goal. | Enough leaf area on every cut stem to support regrowth. |
| Buds forming | Tender flowering tips cut back to leafy nodes, or leave designated bloom plants alone. | Any spikes on plants deliberately kept for seed. |
| Cold weather approaching | Usable healthy leaves for immediate cooking or freezing. | Do not rely on a damaged plant to supply another large cut. |
For curries, stir-fries, and soup, add leaves late when you want the fresh aroma. Freeze surplus in meal-sized portions for cooked dishes; thawed leaves will be softer than fresh garnish. Store short-term cut stems in clean water away from sun, and handle leaves gently. Basil can blacken below 50°F (10°C). [3]
Thai basil: cut above a leafy node
- On an established plant, follow a tender tip down to a healthy pair of leaves and cut just above it. Leave the pair and its buds for branching.
- Rotate small harvests among vigorous stems; leave several leaf pairs on a young plant so it can recover.
- For more leaves, cut developing flower tips back to a leafy node. Flowering is a valid choice for pollinators or seed, but leaf production may slow.
Saving Thai basil seed
For seed, choose healthy plants that actually express the traits you want to keep—vigorous branching, leaf quality, color, aroma, and freedom from serious disease. Stop pinching those plants and allow flower spikes to mature until the seed-bearing structures dry.
Seed purity is a separate question from whether a basil plant can make seed. Basil flowers are visited by insects, so another compatible basil variety flowering nearby can contribute pollen. Seed Savers Exchange recommends managing varietal purity with distance, containment, or flowering-time isolation when more than one compatible variety is present.[2] For a small home garden, the simplest strategy is often to save seed from only one basil variety at a time or deliberately treat saved seed as an experiment rather than guaranteed true-to-type stock.
From seed tray to the first useful cut
| Checkpoint | Useful starting point | Move on when… |
|---|---|---|
| Indoor sowing | Start about 6–8 weeks before a reliably warm outdoor planting date; sow ¼ inch deep. | You can provide strong light after emergence. |
| Emergence | General basil guidance is 5–10 days around 65–70°F (18–21°C). | Seedlings have emerged; remove unnecessary humidity cover and keep them well lit. |
| Transplant size | Use a compact plant with 3–4 pairs of true leaves. | Roots hold the mix together without a dense, circling mass. |
| Acclimation | Increase outdoor light and wind gradually over 7–10 days. | Leaves stay firm in their intended outdoor position and cold risk has eased. |
| First harvest | Begin lightly after planting rather than cutting a freshly disturbed transplant hard. | New leaves show that the plant has resumed growth. |
The timing and leaf-stage benchmarks are general basil guidance; use actual growth to make the next decision. [3] If emergence is poor after about two weeks, use the checks below before resowing.
A container plan for repeated picking
For one plant, a 3–5-US-gallon container with about 10–12 inches of usable mix depth is a generous home-garden starting design. Smaller pots can work with closer watering attention, but the canopy soon becomes large relative to the water held in the pot. Use drainage holes and potting mix rather than dense garden soil.
- At planting: leave room around the stem and use the fertilizer already in the mix before adding more.
- As branches fill out: check moisture more often, especially beside paving or a hot wall. Water the root ball fully and empty a water-filled saucer.
- For a larger kitchen supply: two separate pots let you alternate cuts. Keep one recovering while the other supplies leaves.
Follow the container-feed label and reduce harvest while growth is weak. See container herb plans for other herbs that fit the same space.
A small home seed-saving workflow
For a first learning batch, mark 5–10 healthy representative plants if space permits and save modest amounts from each. This is a practical sampling exercise, not a conservation population standard; one or two plants may give usable seed but capture little diversity. Choose plants for the desired crop traits rather than saving only whichever plant produces seed first.
Watch for dry brown flower spikes holding dark seeds. Shake the dry spikes over a tray, rub gently and sieve out large stem pieces. Spread cleaned seed thinly in a sheltered, dry, ventilated place until fully dry before sealing. Label crop, variety, harvest year, parent plants and possible crossing. Keep cool, dry and dark. Before committing next season’s bed, germinate a small counted sample; that checks usefulness, not varietal purity.
Keep compatible volunteers and nearby varieties in mind when saving a named strain: crossing may occur before a seed bag is applied. Label uncertain garden seed honestly and consult seed-saving principles for isolation and parent-diversity planning.
Troubleshooting: check before changing the routine
Several problems look like “the basil needs water.” Use the whole plant and the root zone to separate them.
| What you see | Check first | Next action |
|---|---|---|
| Long, thin seedlings | Light direction and crowding. | Increase light and give seedlings room; feeding alone will not shorten stretched stems. |
| Pale plant, little new growth | Recent cold nights; mix that stays saturated. | Let roots drain, restore warmth, and wait for new leaves before heavy harvest. |
| Afternoon droop | Feel the mix below the surface and check drainage. | Water a drying root ball thoroughly; shelter from extreme heat if mix is already moist. |
| Yellow patches between veins; gray fuzz underneath | Turn over lower leaves, especially after humid weather. | Suspect downy mildew. Isolate affected pots, obtain a diagnosis, and remove infected plants rather than repeatedly feeding them. |
| Picked leaves turn black | Refrigerator temperature and bruising. | Change storage and handle the next harvest gently; use fresh basil promptly. |
Downy mildew has a characteristic underside growth; yellow leaves alone are not a diagnosis. No disease-resistance claim is established here for this Thai basil. [4]
Sourced grower observation
A Thai basil grower posting as FormosaHoney on r/gardening reports continuing to pick leaves while allowing some flowers for pollinators. This is one gardener’s seasonal result, not a guarantee that flowering will leave leaf quality unchanged; for a leaf-focused crop, cut regularly above nodes and remove flower spikes as needed. Read the original grower account; compare the crop guidance. This is one grower’s account, not a Hollowstead trial of the offered seed lot.
GROW THIS HERB
Put the guide to work.
The product page carries the packet details and current availability.
HOLLOWSTEAD SEED
Thai Basil Seeds
$3.49
HOLLOWSTEAD SEED
Green Shiso Seeds
$3.49
HOLLOWSTEAD SEED
Slow Bolt Cilantro Seeds
$3.49
HOLLOWSTEAD SEED
Mammoth Long Island Dill Seeds
$3.49KEEP LEARNING
Related Hollowstead guides
SEED STARTING
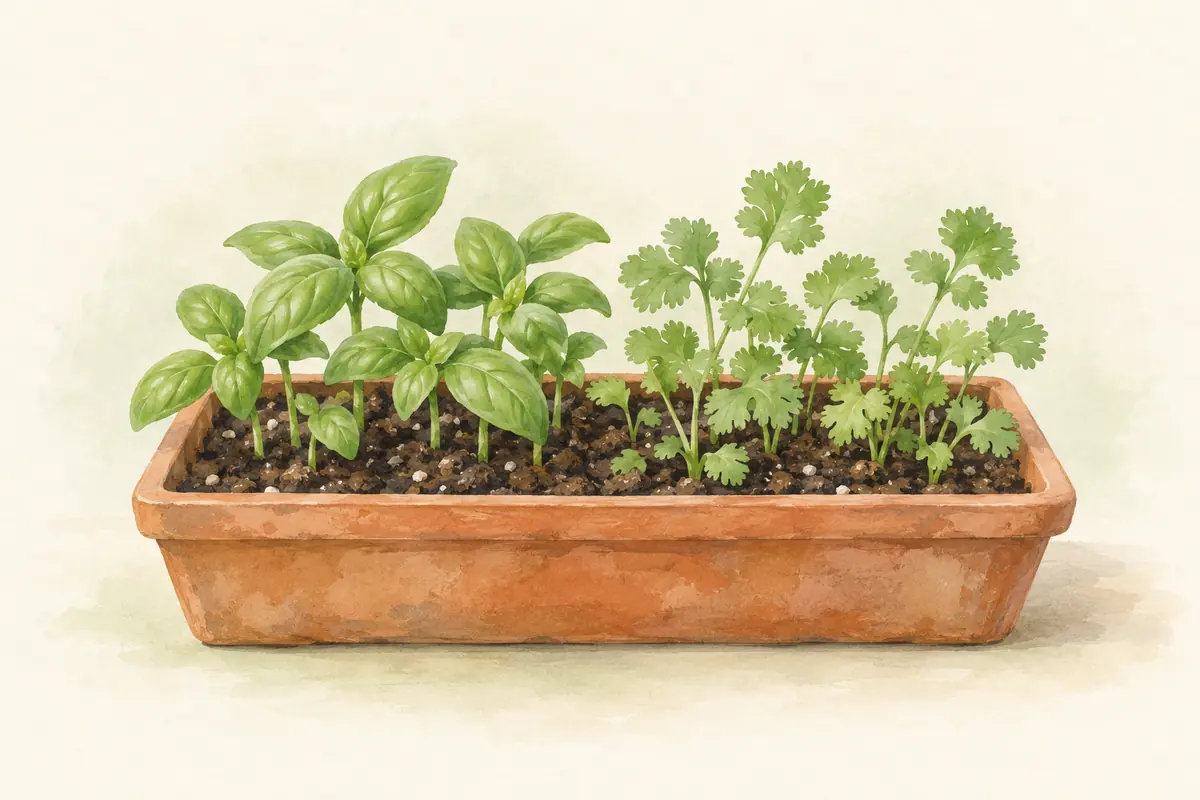
Growing Four Annual Herbs From Seed: Basil, Shiso, Cilantro & Dill
Start basil, shiso, cilantro, and dill with a crop-specific plan. Learn when to start indoors or direct sow, how to manage light and moisture, when to thin and transplant, and how to plan the first harvest.
Read the guide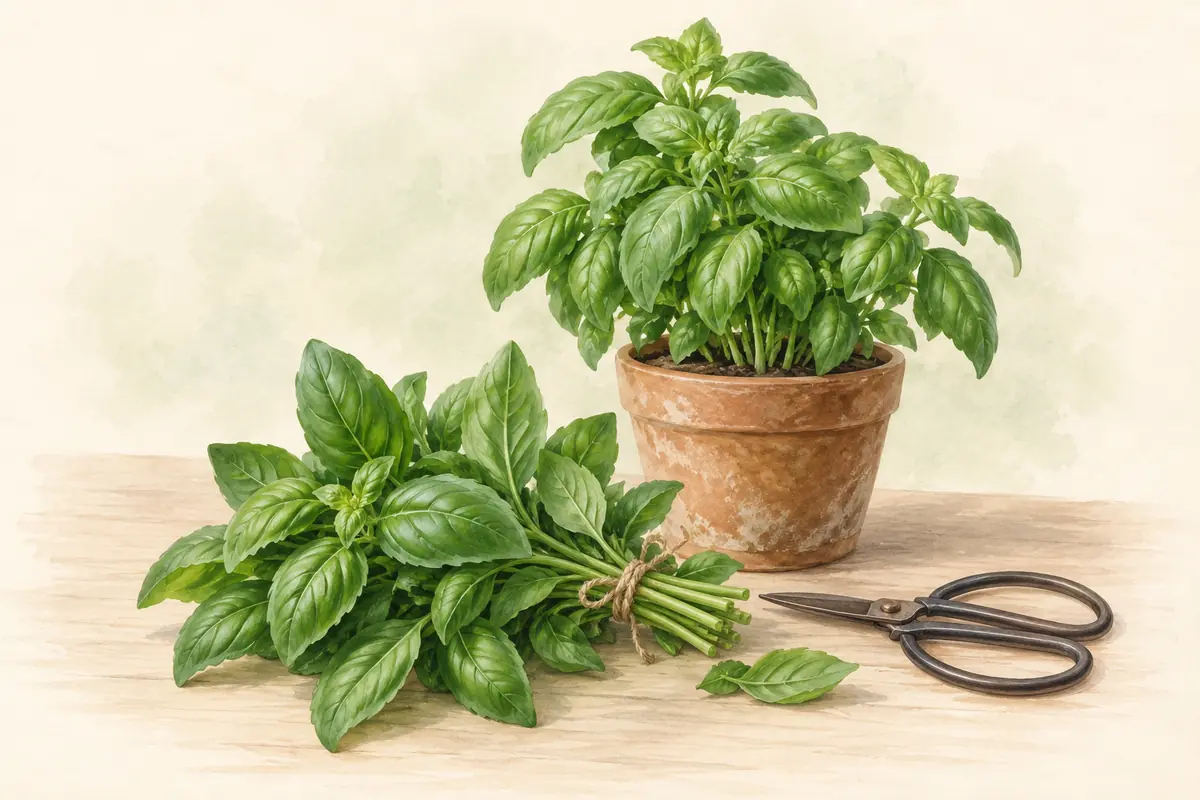
HARVEST GUIDE
When and How to Harvest Herbs
Harvest basil, cilantro, dill, and shiso without cutting away the plant’s future. Learn when to pinch, snip, gather leaves, harvest flowers, and leave stems for mature seed.
Read the guide

TROUBLESHOOTING
Why Herbs Bolt — and What to Do About It
Bolting is the shift from leafy growth to flowers and seed. Learn why heat, long days, maturity, water stress, and root stress push herbs to flower and what actually helps extend the leaf harvest.
Read the guideFrequently asked questions
Is Thai basil the same as sweet basil?
No. They are related basils, but Thai basil has a distinct aromatic profile and characteristic purple stems.
Should I let Thai basil flower?
You can, but if leaf production is the priority, pinching flower spikes generally keeps the plant focused on vegetative growth longer.
Can Thai basil grow in a container?
Yes. Use a container with drainage, full sun, and enough soil volume to keep moisture reasonably steady.
Where should I cut when harvesting?
Cut a stem just above a pair of leaves so the nodes below the cut can produce new branches.
Sources & further reading
- University of Minnesota Extension Growing basil in home gardens https://extension.umn.edu/garden-and-home/yard-and-garden/gardening-in-minnesota/yard-and-garden-problems/growing-basil
- Seed Savers Exchange Isolation Methods https://seedsavers.org/learn/isolation-methods/
- Johnny’s Selected Seeds — Basil: Key Growing Information
- University of Minnesota Extension — Basil downy mildew
- Johnny’s Selected Seeds — Holy Basil listing Lists holy basil/tulsi as Ocimum tenuiflorum, separately from Thai basil. https://www.johnnyseeds.com/herbs/basil/holy-basil/holy-basil-seed-898.24.html
Hollowstead Growing Notes
A little help for your next growing season
Practical sowing advice, help choosing seeds, and occasional Hollowstead shop news. Usually one or two emails a month, plus a short welcome note.
Choose your topics and frequency after you confirm. Our guides and planting calendar are always free.