
DILL GUIDE
Mammoth Long Island Dill Growing Guide
Mammoth dill is a tall annual for feathery foliage, yellow umbels, and later seed. Learn direct sowing, spacing, staking, leaf harvest, flower harvest, and mature seed collection.
HerbsVariety guideBeginner → advanced
Published by Hollowstead Seed Co. · How this guide is prepared
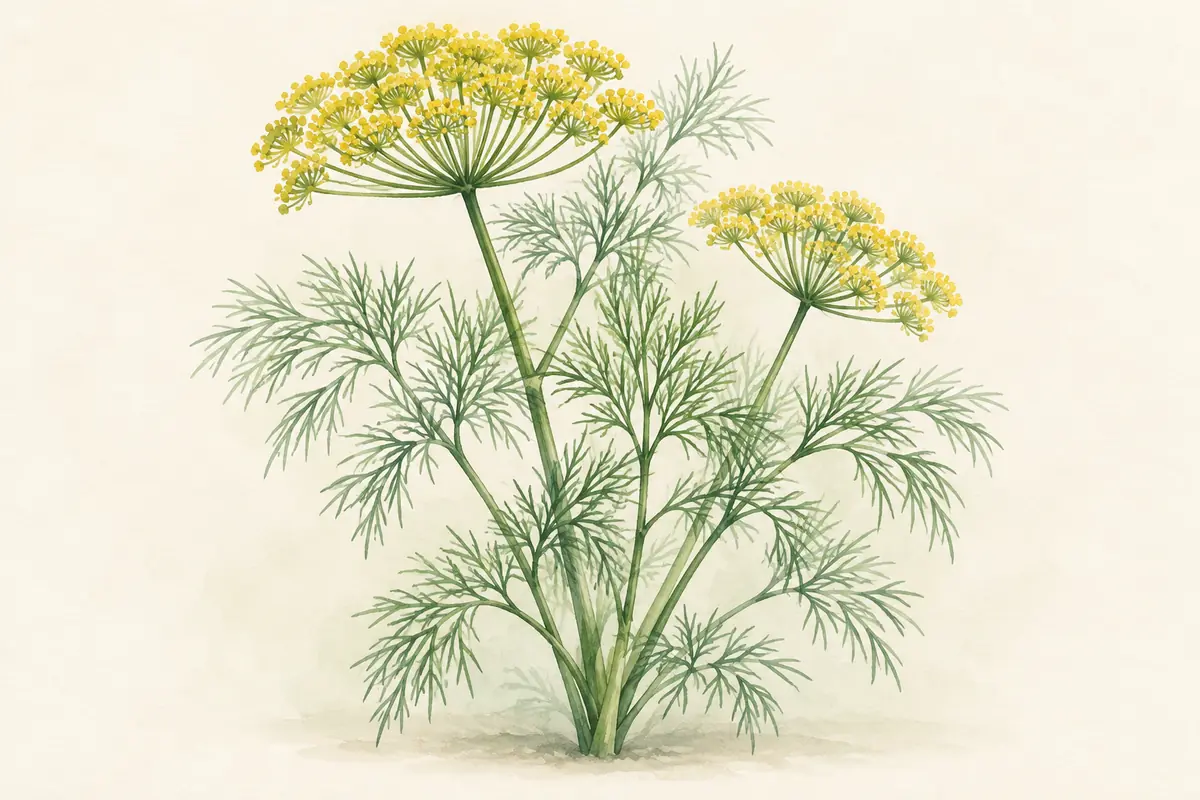
Quick answer
Mammoth Long Island dill is a tall annual grown for feathery foliage, yellow flower umbels, and later seed. Direct sowing is usually the easiest start because dill has a taproot and does not benefit from unnecessary transplanting. Hollowstead’s current catalog guidance uses about ¼ inch depth and 10–12 inches between mature plants.[1]
Decide whether each plant is for foliage or seed. Repeatedly cutting a plant for leaves and expecting the same stems to produce a full seed crop are competing goals.
The short version: direct sow, thin for room, harvest leaves early, support tall plants in exposed sites, and leave selected plants untouched for flowers and seed.
Mammoth Long Island dill at a glance
| Question | Useful starting point |
|---|---|
| Season | Annual herb |
| Sowing | Direct sow is preferred |
| Depth | About ¼ inch |
| Spacing | About 10–12 inches |
| Habit | Tall, feathery plant |
| Support | Stake in exposed sites if needed |
| Leaf harvest | Before heavy flowering |
| Seed harvest | After seed heads mature and dry |
- Habit
- Tall annual with fine foliage and umbels
- Sowing
- Direct sow preferred
- Light
- Full sun
- Wind
- Tall stems benefit from a sheltered site or support
- Succession
- Repeat sowings extend leaf harvest
- Harvests
- Fronds, flowers, then mature seed
A staged Mammoth dill checklist
- Before sowingChoose fronds, pickling heads, dry seed, or separate groups for each. Give the head crop overhead room.
- At emergenceKeep the row identifiable and weed carefully; small dill seedlings compete poorly with a weedy seedbed.
- At about 2 inches tallThin mature-plant groups toward 10–12 inches. Save dense sowing for an intentional young-leaf harvest.
- Before stems are tallInstall support in exposed sites and begin the next small sowing if you need more fronds.
- At floweringStop expecting the older plants to supply every fresh leaf. Match heads to the stage your recipe needs.
- As seed turns tanCheck heads frequently and collect before heavy shedding; dry fully before storage.
SAVE FOR SOWING DAY
Five-step crop plan for Mammoth Long Island Dill
Open the sow-to-harvest plan
- StartChoose separate plants for fronds versus heads/seed, and direct sow about ¼ inch deep in a workable spring bed or deep pot. Guide details
- PlantThin mature plants to about 10–12 inches when seedlings are established; allow overhead room for tall heads. Guide details
- MaintainProtect young rows from weeds and brace tall stems in exposed sites; leave seed plants more lightly picked. Guide details
- HarvestSnip outer fronds while leaving the center; later choose green flexible pickling heads or fully tan-brown dry seed. Guide details
- Next sowing or seedA small new sowing about every three weeks can renew fronds in suitable weather; collect marked tan seed heads before shedding and finish drying. Guide details
- Space
- About 10–12 inches for mature plants and head room above; tall stems may need a stake.
- Timing
- Match sowing to local spring conditions and whether you want fronds, flowering heads or mature seed; no single date aligns dill heads and cucumbers everywhere.
Full growing guidehttps://hollowsteadseeds.com/mammoth-dill-growing-guide/Seed packethttps://hollowsteadseeds.com/product/mammoth-long-island-dill-seeds/Find planting dates by ZIP code
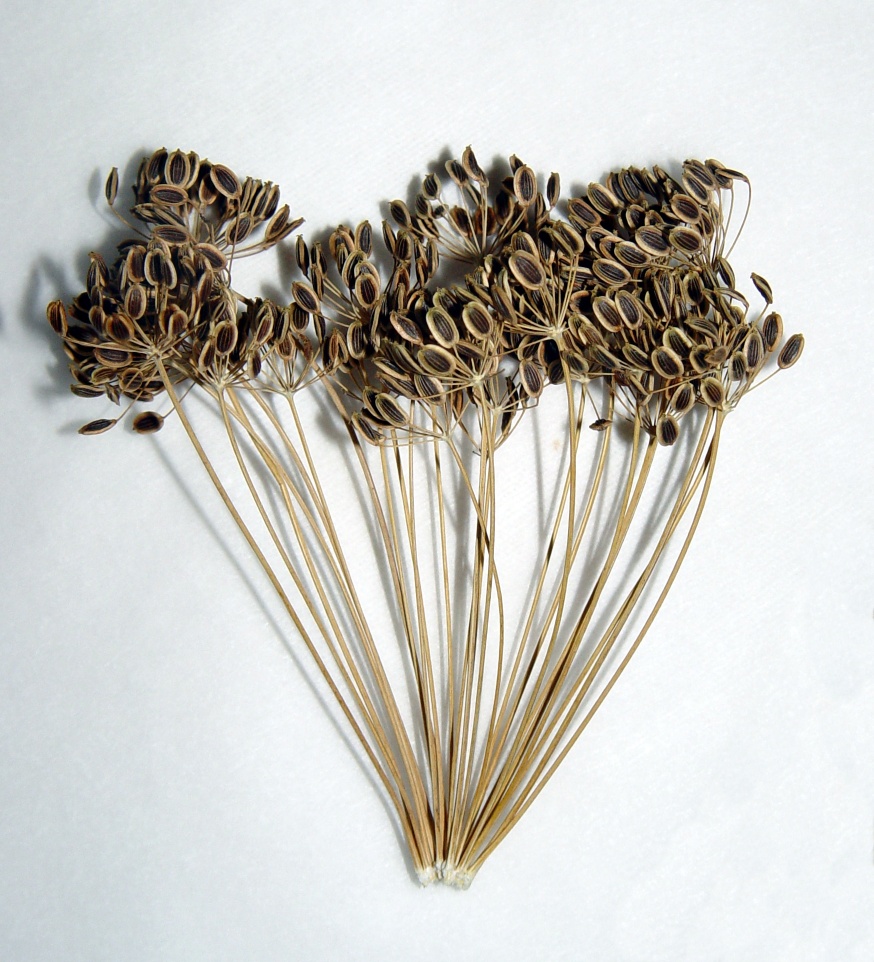
Plant reference photo
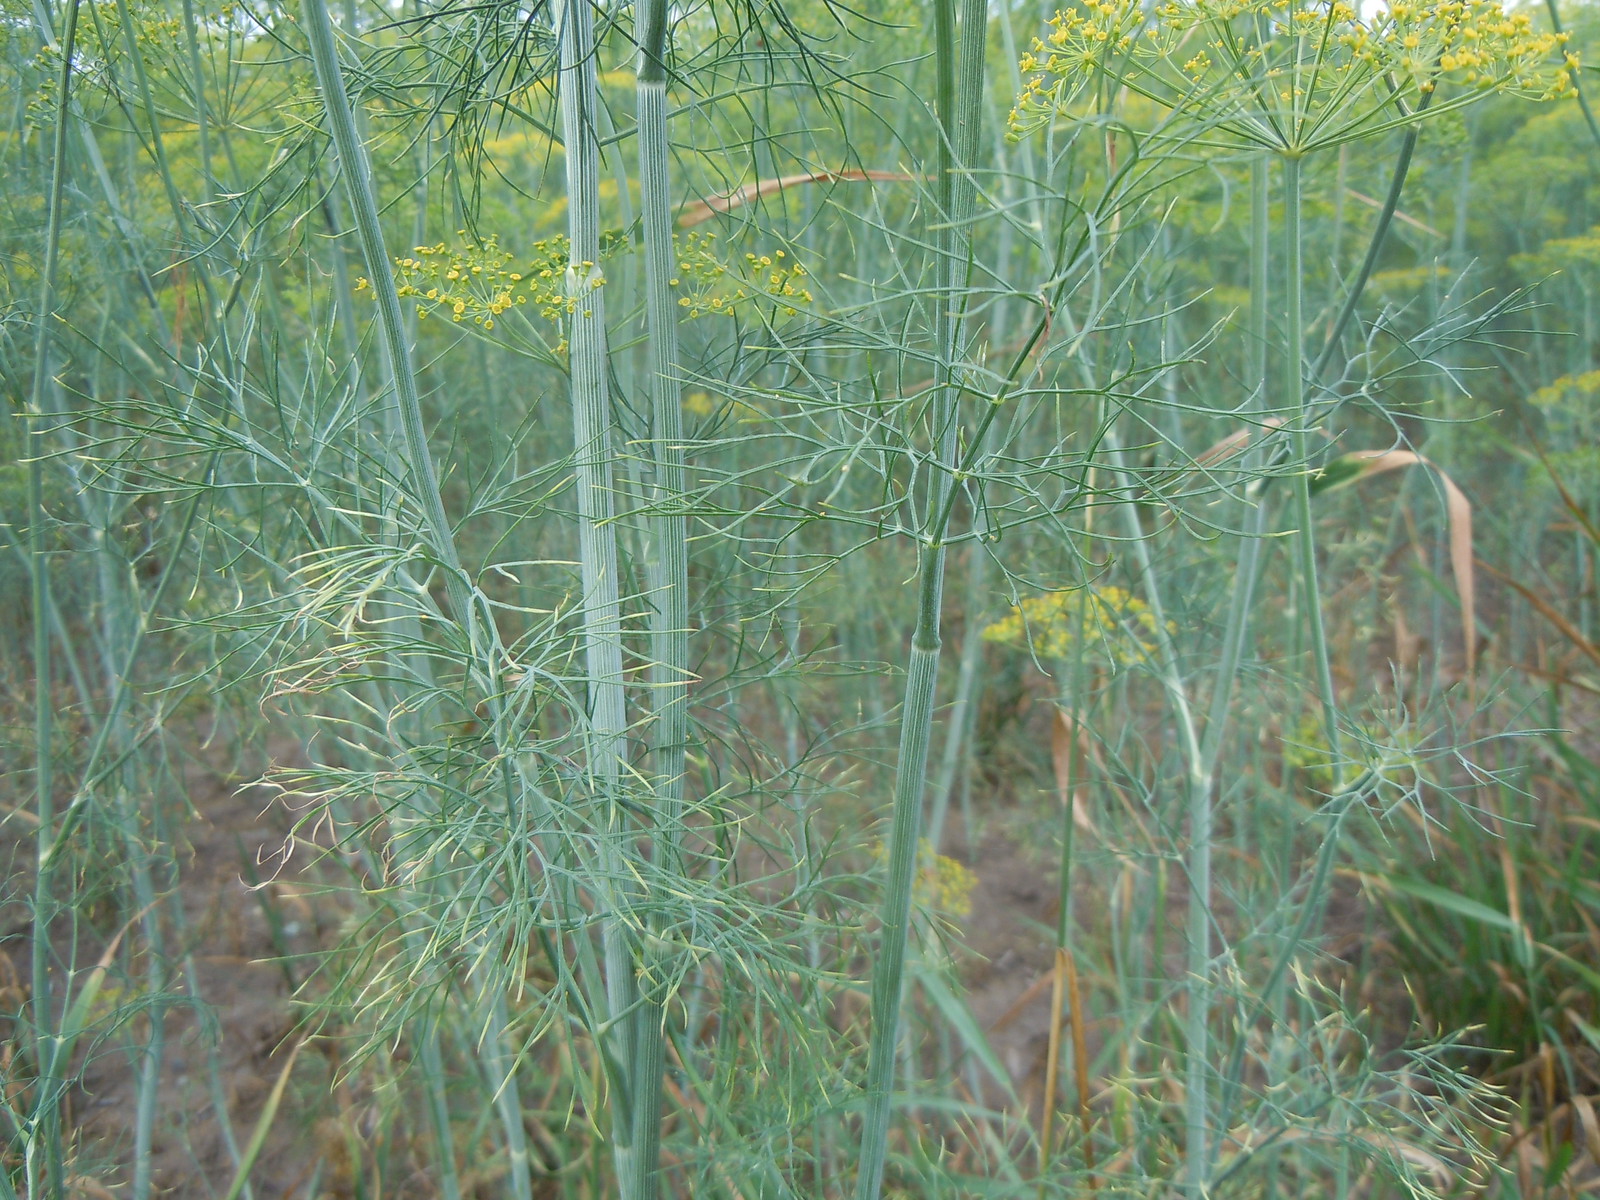
View dry dill seed heads
Direct sow with the final harvest in mind
Sow about ¼ inch deep in the final bed or deep pot. A protected, workable spring bed may be ready before the last frost under local guidance; waiting until spring frost risk eases is the cautious default. Direct sowing avoids disturbing the taproot. [1]
Plan a small succession about every three weeks while the weather and remaining season suit growth. Adjust to use: slow down if older leafy plants still supply you; start sooner if you cut most of a batch at once. A separate, lightly picked group can continue to heads while the younger row supplies fronds. [3]
Make room for Mammoth’s mature shape
Mammoth Long Island has a tall, airy form and large flower heads. Give it several feet of vertical space, and place it where the mature canopy will not hide a low herb that needs sun. Plan for several feet of growth; a named-variety supplier describes plants reaching up to 6 feet. Final size depends on conditions and harvest stage. [6]
Choose by harvest: Tall Mammoth makes room for pickling heads and dry seed. Iowa State describes Fernleaf as compact and slower to bolt for container foliage, and Bouquet as a seed or cut-flower choice. Use a compact selection when only a small low foliage pot will fit.[7]
Use the full-size plant as your layout reference even if the first harvest will be small fronds. Frequent early cutting changes the harvest, but it does not make Mammoth a genetically dwarf selection.
Mammoth Long Island Dill
- Direct sow about ¼ inch deep and thin full-size plants to 10–12 inches.
- Allow roughly 3–5 feet overhead as a planning range; support hollow stems in wind.
- Umbels feed visiting insects while flowering and later form seed.
- Snip foliage early; reserve separate plants for mature seed.
Balance sun, spacing, and shelter
A sunny site with shelter from strong wind gives tall stems a better start. Crowding can leave stems thin as plants compete for light; an exposed single row can still lodge once its umbels become heavy. Keep the base open enough to see and tend individual plants. [1]
Provide moderately fertile, well-drained soil. If the bed already grows healthy vegetables, routine extra feeding may be unnecessary; use a soil test to address a real deficiency. More feed will not correct shade or poor drainage. [5]
Set support before the heads need it
For a short row, put stakes around the outside and run loose twine at one or two useful heights as the plants grow. For a pot, use a support anchored deeply enough to steady the plant without constricting the stem. These are practical support options, not a requirement for every sheltered planting.
After wind or rain, inspect leaning plants before tightening ties. Guide a flexible stem gently; a sharply creased or snapped hollow stem is unlikely to behave like an undamaged one.
Four useful stages, four different decisions
| Stage | Useful for | Decision now |
|---|---|---|
| Leafy plant | Fresh dill weed for salads, potatoes, sauces, and fish. | Pick lightly for repeat leaves, or use a designated young-leaf group more heavily. |
| Yellow flowering umbel | Fresh flower use or arrangements. | Cut for flowers, or leave it to develop seed. |
| Green, flexible head with developing seed | Pickling recipes that call for this stage. | Collect the heads needed and leave the seed-saving group to ripen. |
| Tan-brown mature seed | Dry culinary dill seed or seed to sow. | Collect before shedding, finish drying, then clean. |
One cut head cannot supply all the later stages. Decide how many heads to leave before the main pickling harvest, and match their stage to your recipe. [1][2]
Reserve some plants for green pickling heads and others for brown mature seed before stripping the whole row for fronds.
Build a frond harvest without stripping the plant
When an established plant has several fronds, snip one or two outer ones and leave the center with most foliage. Take less if the plant is small or slow to grow. For repeat picking, wait for replacement growth rather than taking the same proportion on a fixed schedule.
Dill leaves are best handled as a fresh crop. Cut near cooking time, add them toward the end of cooking, and freeze extra fronds when the patch is abundant. A younger sowing is more useful than trying to force a flowering stem back into its earlier leafy form. [5]
Time heads to the kitchen rather than the packet date
The first yellow flowers are a useful signal to start checking the heads more often. The green, flexible pickling stage follows pollination and developing seed; fully dry seed comes later. If you need a steady supply of heads for cucumbers, several small sowings spread the opportunity better than one planting.
Keep a note of when your first sowing flowers and when your cucumbers begin producing. Use that local record to adjust next season’s planting; a universal “sow on the same day” rule cannot guarantee they will coincide.
Collect mature seed over several visits
Watch for heads turning tan-brown and seeds beginning to release. Heads and side branches need not finish together, so harvest ready heads over several visits. Collect into a paper bag or tray before moving brittle stems through the garden; finish drying with airflow and clean out the stalk pieces. [3]
Keep culinary seed and next year’s planting seed labeled separately. The latter also needs attention to parent selection and possible crossing, explained in the seed-saving workflow.
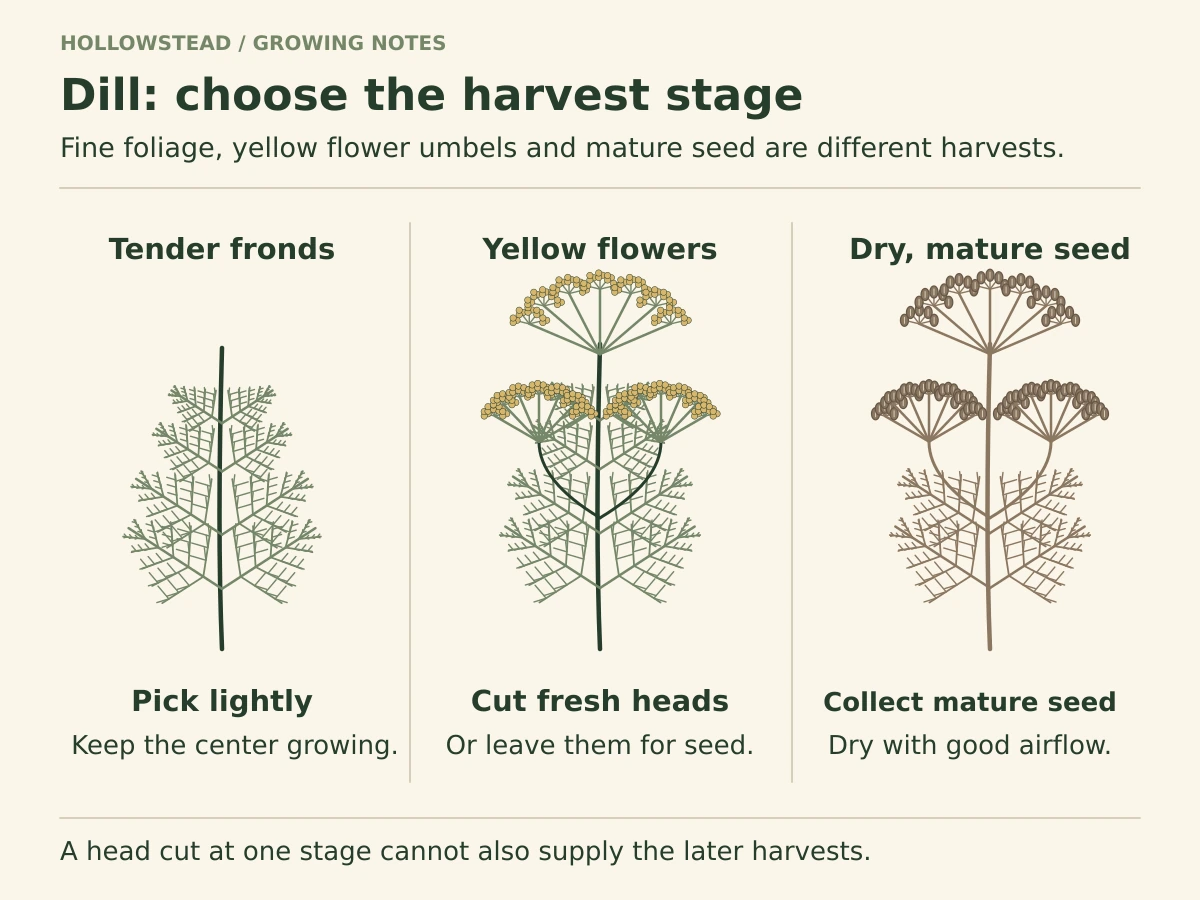 View full-size diagram
From sowing to the first useful fronds
| Checkpoint | What to look for | What to do |
|---|---|---|
| Sowing | Fine, moist soil over seed about ¼ inch deep. | Mark the date and row so slow emergence is not mistaken for bare ground. |
| Emergence | General guidance is 7–21 days at 65–70°F (18–21°C). | Keep moisture steady without saturating the bed. |
| Early seedlings | Several seedlings competing closely in the final head-crop space. | Thin early to the catalog’s 10–12 inches for full-size plants. |
| First picking | Several healthy fronds and a plant firmly rooted in place. | Start with a small outer-frond picking; leave the growing center. |
| First heads | Leaf growth giving way to taller flowering stems. | Move routine frond picking to the younger succession. |
These are crop benchmarks, not a promise of a particular calendar harvest. Begin light leaf picking once the plant is established and has foliage to spare; dry seed requires a later stage. [3]
A container plan that accommodates the head crop
For one mature Mammoth plant, start with 5 US gallons or more and about 12–16 inches of usable depth. This is a practical home-garden design, not a minimum established by a variety trial. Sow into the final pot and use a broad, stable base with drainage holes.
- Choose the location first: a tall plant above a balcony rail catches more wind than one in a sheltered bed. Keep access for head harvest and leave several feet above it.
- Keep the root ball evenly supplied: feel beneath the surface, water thoroughly when needed, and let the pot drain. Avoid letting an old plant sit in a full saucer.
- Separate harvest goals: one pot can finish heads while a second pot starts a younger frond crop. Several crowded plants in the same small pot will compete as they grow.
Follow the potting mix and fertilizer labels. See container herb plans for companion pots with different harvest habits.
A small home seed-saving workflow
For a first learning batch, mark 5–10 healthy representative plants if space permits and save modest amounts from each. This is a practical sampling exercise, not a conservation population standard; one or two plants may give usable seed but capture little diversity. Choose plants for the desired crop traits rather than saving only whichever plant produces seed first.
Watch for flat, ribbed seeds turning tan-brown on the umbels. Slip a paper bag around the near-mature head, cut it and finish drying with airflow; shake out the seed and remove stalk pieces. Spread cleaned seed thinly in a sheltered, dry, ventilated place until fully dry before sealing. Label crop, variety, harvest year, parent plants and possible crossing. Keep cool, dry and dark. Before committing next season’s bed, germinate a small counted sample; that checks usefulness, not varietal purity.
Keep compatible volunteers and nearby varieties in mind when saving a named strain: crossing may occur before a seed bag is applied. Label uncertain garden seed honestly and consult seed-saving principles for isolation and parent-diversity planning.
Troubleshooting: check before changing the routine
Use these checks to distinguish normal flowering from a problem that needs intervention.
| What you see | Check first | Next action |
|---|---|---|
| No row after roughly three weeks | Seedbed moisture, crusting, depth, and actual temperature. | Keep the original row while making a short, labeled comparison sowing in better-prepared soil. |
| Tall seedlings leaning toward light | Shade, crowding, or an indoor light source. | Improve light and thin the mature-plant group. Support cannot replace adequate light. |
| An entire stem leans after wind | Loose roots, weak pot anchoring, or a creased stem. | Add loose support while stems remain flexible; improve shelter and pot stability. |
| Less foliage as heads develop | Whether the plant is flowering normally. | Use younger sowings for fronds; let selected older plants finish heads. |
| Fronds disappearing; caterpillars visible | Identify the insect before acting. Dill can host swallowtail larvae. | If sharing the crop is acceptable, reserve some plants for larvae and take kitchen fronds from another group. |
| Sticky clusters around new heads | Look for aphids and their natural enemies. | Monitor the extent of damage and identify insects before choosing control; flowering dill attracts many beneficial visitors. |
Utah State Extension describes both aphids and swallowtail larvae on dill. A chewed plant is a reason to inspect, not proof that every insect on it should be removed. [5]
Sourced grower observation
Amelia Grant of The Shrub Queen grows Mammoth Long Island dill in pots during South Florida’s cool season. She used the foliage, then picked seed heads for arrangements while reserving some for seed. Plan separate frond and head harvests if you want both; her climate and pot-grown crop are one garden’s experience, not an expected schedule for the offered lot. Read the original grower account; compare the crop guidance. This is one grower’s account, not a Hollowstead trial of the offered seed lot.
GROW THIS HERB
Put the guide to work.
The product page carries the packet details and current availability.
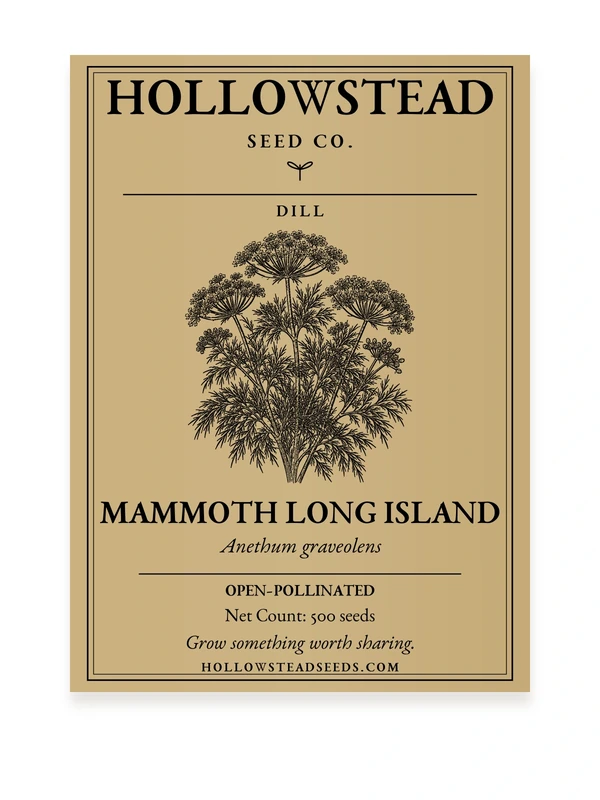
HOLLOWSTEAD SEED
Mammoth Long Island Dill Seeds
$3.49
HOLLOWSTEAD SEED
Thai Basil Seeds
$3.49
HOLLOWSTEAD SEED
Green Shiso Seeds
$3.49
HOLLOWSTEAD SEED
Slow Bolt Cilantro Seeds
$3.49KEEP LEARNING
Related Hollowstead guides
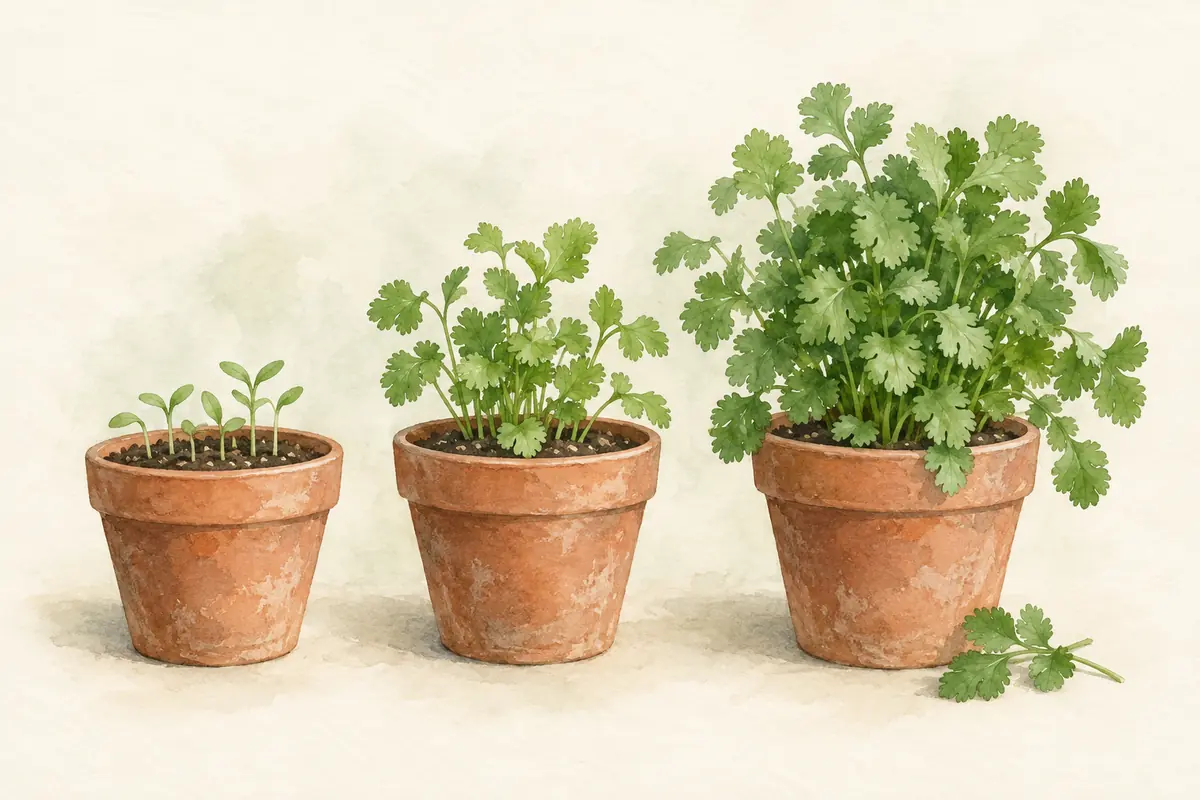
GARDEN PLANNING
Succession Planting Herbs for a Longer Harvest
Avoid one huge herb planting followed by an empty gap. Learn how to stagger cilantro, dill, basil, and shiso sowings, overlap generations, use containers, and track the intervals that work in your garden.
Read the guide
HARVEST GUIDE
When and How to Harvest Herbs
Harvest basil, cilantro, dill, and shiso without cutting away the plant’s future. Learn when to pinch, snip, gather leaves, harvest flowers, and leave stems for mature seed.
Read the guide

PRESERVING HERBS
How to Dry and Preserve Garden Herbs
Preserve garden herbs safely with air drying, dehydrator drying, freezing, and dry storage. Learn when to harvest, how to avoid mold, and how to store dried leaves and seed.
Read the guideFrequently asked questions
Should I start Mammoth dill indoors?
Direct sowing is usually simplest because dill develops a taproot and dislikes unnecessary root disturbance.
How tall can Mammoth dill get?
Allow several feet of vertical room. Some supplier descriptions reach 6 feet, with variation by conditions and harvest stage. Mammoth is not a compact windowsill dill; use the mature head crop when planning support and overhead clearance.
When do I harvest dill weed?
Cut feathery foliage while it is fresh and before heavy flowering if leaf quality is the priority.
When is dill seed ready?
Let seed heads mature and dry to tan-brown before collecting the seed.
Sources & further reading
- University of Minnesota Extension Growing dill https://extension.umn.edu/vegetables/growing-dill
- Illinois Extension Dill https://extension.illinois.edu/herbs/dill
- Johnny’s Selected Seeds — Dill: Key Growing Information
- Seed Savers Exchange — Isolation Methods
- Utah State University Extension — Dill in the Garden
- John Scheepers Kitchen Garden Seeds — Mammoth Long Island Dill
- Iowa State Extension — dill and fennel variety comparison Fernleaf compact foliage and Bouquet seed/cut-flower purposes. https://yardandgarden.extension.iastate.edu/how-to/all-about-dill-and-fennel
Hollowstead Growing Notes
A little help for your next growing season
Practical sowing advice, help choosing seeds, and occasional Hollowstead shop news. Usually one or two emails a month, plus a short welcome note.
Choose your topics and frequency after you confirm. Our guides and planting calendar are always free.