
PEPPER SEED STARTING
Growing Peppers From Seed: The Complete Guide
Grow peppers from seed through harvest with warm germination, strong seedlings, soil preparation, transplant timing, steady moisture, sensible fertility, fruit-set troubleshooting, disease prevention, and harvest care.
PeppersSeed startingBeginner → advanced
Published by Hollowstead Seed Co. · How this guide is prepared
Quick answer
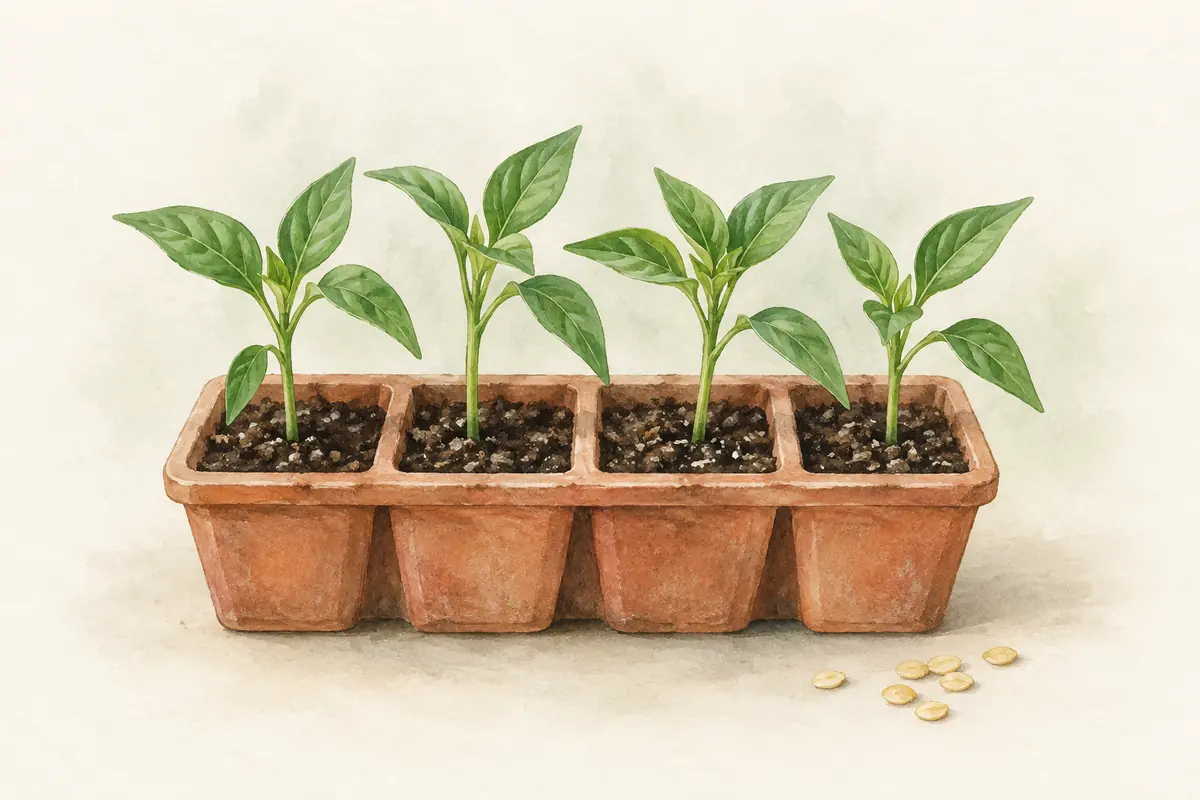
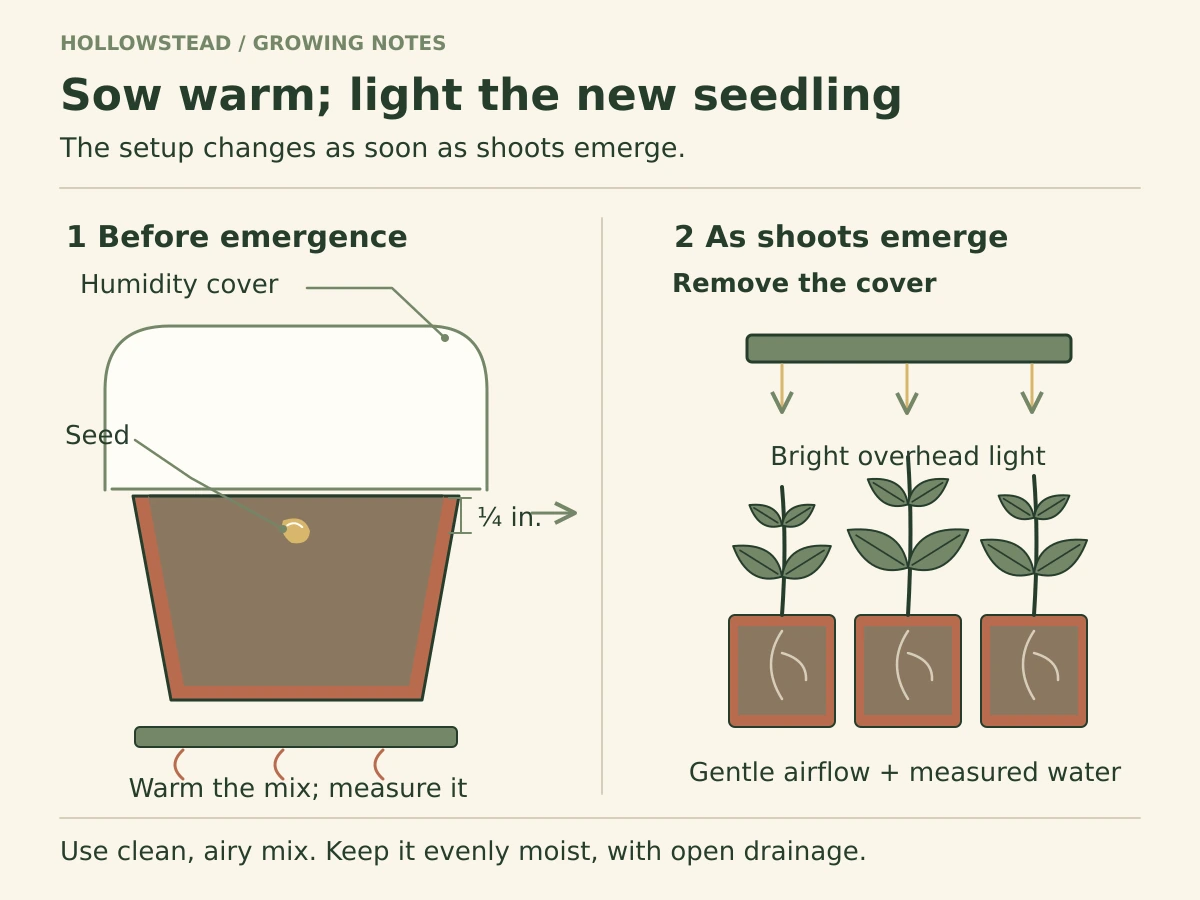
Start peppers indoors about 6–8 weeks before a realistic transplant window, and give slower varieties a little more time if your setup can support them. Sow about ¼ inch deep in sterile seed-starting mix, keep the root zone genuinely warm, and move seedlings into strong overhead light immediately after emergence. University of Minnesota recommends 80–90°F at the flat during germination, while Seed Savers Exchange notes that pepper seed needs soil temperatures of at least about 75°F to germinate and grow reliably.[1][2]
Once seedlings are established, the job changes: build a compact transplant, harden it gradually, and wait for warm conditions outside. Peppers are more cold-sensitive than tomatoes; Missouri Extension notes that they are typically transplanted later and that cool, wet weather slows growth.[3]
The short version: warm the seed, light the seedling, do not overwater the roots, do not rush spring, and keep moisture reasonably steady once flowering begins.
Peppers at a glance
| Question | Useful starting point |
|---|---|
| Start indoors? | Usually yes—about 6–8 weeks before transplanting |
| Sowing depth | About ¼ inch |
| Germination warmth | Warm mix; roughly 75–90°F is useful |
| Emergence | Often about 1–3 weeks; cultivar and temperature matter |
| Light after emergence | Bright overhead light immediately |
| Transplant timing | After frost danger, with warm nights and soil |
| Garden spacing | Often 12–24 inches depending on cultivar/system |
| Soil | Well drained; roughly pH 6–7 is a common Extension range |
| Container baseline | 5 gallons is a practical minimum for a full-size pepper |
- Sow warmStart indoors in sterile mix and warm the root zone rather than the whole room.
- Build the transplantAfter emergence, prioritize light, airflow, root room, and measured watering.
- Harden graduallyIntroduce sun, wind, and temperature swings over roughly a week or two.
- Transplant into warmthWait until frost risk is past and nights are reliably mild.
- Support floweringKeep moisture steady and avoid excess nitrogen as flowers and fruit develop.
- Protect the canopyUse mulch, support, drainage, and disease-prevention habits to keep leaves healthy.
- Harvest and resetPick at the stage you need, then clean up and rotate where practical.
Sowing pepper seeds
Peppers are slow enough that indoor starting is useful across much of the United States. Work backward from the week you can realistically plant outside rather than from a generic calendar. Minnesota Extension recommends starting about eight weeks before planting out; Seed Savers uses a 6–8 week window for many peppers.[1][2]
Use a clean, fine-textured seed-starting mix and sow about a quarter-inch deep. A seed-starting medium should hold moisture while retaining air spaces; dense garden soil is a poor indoor germination medium because it drains and aerates inconsistently. Missouri Extension’s general germination guidance emphasizes that a germinating seed needs water and oxygen, not saturation.[6]
Bottom heat is one of the most useful tools in pepper seed starting because it warms the medium where the seed actually sits. It does not replace light after emergence, and a heat mat can dry small cells faster than the same tray at room temperature.
 View full-size diagram
Before committing a planting window to an older packet, use the seed-storage and home germination-test guide. It helps separate an uncertain seed lot from problems in the seedbed.
Germination and early growth
Pepper seeds reward patience, but “peppers are slow” should not become an excuse to ignore the environment. Seed Savers lists about 14–18 days as a common germination window, while cooler media, older seed, and cultivar differences can stretch the wait.[2]
Check the medium temperature, not just the thermostat across the room. A tray beside a cold window can have a root zone far below room temperature. Once seedlings break the surface, shift priorities: bright overhead light, airflow, and reasonable growing temperatures matter more than continued germination heat. Seed Savers specifically recommends removing heat mats after germination so warmth does not drive fast, spindly growth.[2]
Pepper germination and early growth sequence
- Pepper emergence commonly takes 14–18 days and can take longer. First true leaves follow emergence; the sequence is not a promise of completion in two weeks.
After emergence: light, warmth and airflow
Set a timer for 14–16 hours of overhead light and 8–10 hours of darkness. Adjust fixture distance to its output and the plant response; stretching suggests inadequate light, while bleaching or scorch suggests too much intensity or heat.[9]
Vent and remove the humidity cover as shoots emerge. Reduce germination heat and aim for a root-zone temperature around 70°F; measure the mix rather than assuming room temperature equals root temperature. Keep the tray away from cold windowsills and drafts; reduce heat only as far as needed to maintain that growing target. Use a thermostat if supplemental warmth is still necessary. This growing setup is cooler than an 80–90°F germination mat. Keep air moving gently and water when the surface begins to dry, without leaving pots standing in water.[1]
Potting up pepper seedlings
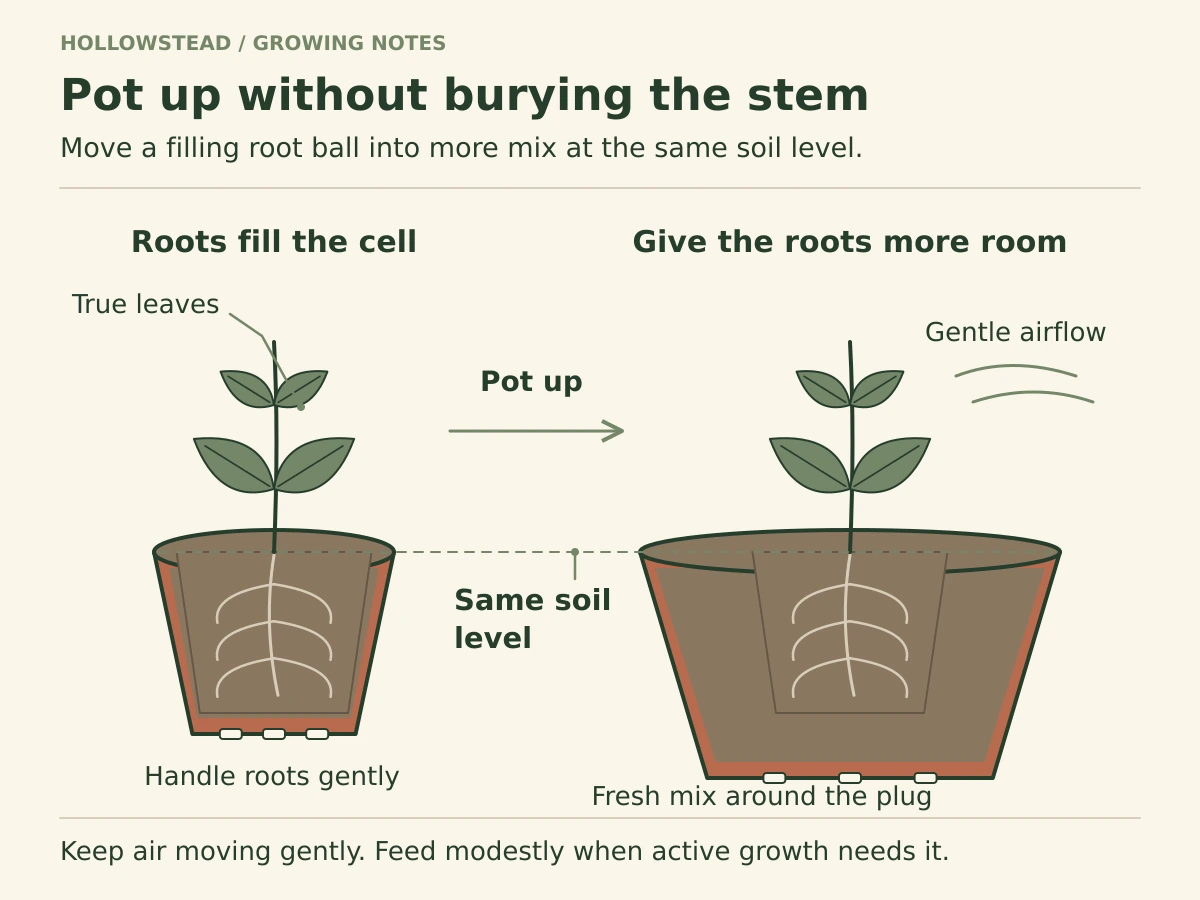
Small cells are efficient for germination but are not meant to hold a pepper indefinitely. Pot up when the root ball is filling the cell, growth is beginning to stall, or the seedling has several true leaves and can be handled without crushing the stem. Minnesota Extension recommends thinning or transplanting seedlings after true leaves appear so plants have room and light.[1]
Unlike tomatoes, peppers are normally moved at approximately the same soil level they occupied in the original container. A slightly deeper transplant is not automatically fatal, but burying long sections of stem should not be the default pepper technique.
 View full-size diagram
Watering and feeding seedlings
Water thoroughly enough to wet the active root zone, then let the surface begin to dry before watering again. The target is evenly moist, not continuously saturated. Tiny cells dry quickly; oversized pots with small plants can stay wet for surprisingly long periods.
Seed-starting mixes vary: some contain starter fertility and some contain very little. Begin feeding only after the seedling is actively growing and the mix no longer supplies enough nutrition. Use a complete fertilizer at a conservative label rate rather than trying to force size. Minnesota Extension warns that excessive nitrogen makes pepper plants bushy and leafy while delaying fruit production.[1]
For a dark, sunken patch at the blossom end of a fruit, use the blossom-end-rot diagnosis and prevention guide before adding a supplement.
Hardening off
Indoor leaves are not prepared for outdoor ultraviolet light, wind, and rapid moisture loss. Begin in a sheltered spot, expose seedlings for a short period, and gradually increase outdoor time and sun over roughly a week or two. Minnesota recommends wind protection at first and bringing peppers back in if nights fall below about 55°F during hardening.[1]
If a storm, cold snap, or very hot day arrives halfway through the process, protect the plants and resume when conditions improve. Hardening off is acclimation, not a test of toughness. For a day-by-day framework, use our pepper hardening-off and transplanting guide.
Soil testing, pH, and bed preparation
A pepper bed is easiest to correct before planting. Start with drainage and a soil test rather than a fertilizer marketed by crop name. Missouri Extension places peppers in well-drained loamy soil around pH 6.0–7.0; Minnesota gives a slightly narrower ideal of about 6.5–7.0.[3][1] The useful lesson is not the decimal—it is to keep the soil in the workable slightly-acidic-to-neutral range and use a soil-test recommendation if your site is clearly outside it.
- Drainage
- Well drained; avoid chronically wet low spots
- Soil test
- Use pH + existing nutrients before amending
- Sun
- Full sun for productive plants
- Root system
- Relatively shallow; moisture swings matter
- Rotation
- Avoid repeating solanaceous crops where practical
Organic matter can improve soil structure and water handling, but it is not a substitute for drainage. If a bed ponds after rain, adding fertilizer will not solve the oxygen problem around pepper roots.
Transplanting outside
Peppers want warmer establishment conditions than tomatoes. Minnesota advises waiting until nighttime lows are above about 50°F, and Missouri Extension notes that peppers are commonly transplanted roughly two weeks later than tomatoes.[1][3] A cloudy or calm late afternoon reduces immediate water stress.
Spacing depends on cultivar and production system. Extension recommendations commonly land in the 12–24 inch range between plants, with around 18 inches a useful home-garden starting point.[1][3] Closer plants can shade fruit but also compete more strongly for light, water, and airflow.
A calendar does not warm soil. If a pepper transplant sits motionless in cold, wet ground for two weeks, an earlier planting date has not actually created a two-week head start.
Feeding peppers after transplanting
Base fertility on the soil test first. Maryland Extension classifies peppers as having a medium nutrient requirement and recommends fertilizing before planting, using starter fertilizer for transplants when appropriate, and side-dressing after the first fruits set.[4]
A plant that is dark green, lush, and producing a great deal of foliage but few flowers does not automatically need “bloom booster.” Excess nitrogen itself can delay fruiting.[1] Look at the whole system: plant age, temperature, root-zone moisture, sun, and recent fertilizer before adding more.
Support, mulch, and root-zone management
Pepper stems become woody but can still split under a heavy crop. Missouri Extension recommends staking because shallow-rooted plants can bend or split under fruit load; keeping the canopy upright also reduces fruit exposure that can contribute to sunscald.[3]
Mulch helps smooth moisture swings and suppress weeds. Black plastic can be useful in cool spring conditions because it warms the soil, while organic mulches or lighter surfaces can be more comfortable once summer heat is established.[3] The goal changes with the season: early on you may want warmth; later you may want a buffered root zone.
Peppers are especially sensitive to the combination of shallow roots and inconsistent water. During transplant establishment, flowering, and fruit set, moisture stress can trigger flower or small-fruit drop and can worsen blossom-end rot.[3]
Flowering and fruit set
Pepper flowers contain both male and female parts and are capable of self-pollination. Bees and other insects can still move pollen and may improve fruit set.[3] If a healthy plant flowers but drops blossoms during a heat wave, lack of bees is usually not the first thing to blame.
Temperature thresholds differ slightly among Extension references because cultivars and conditions differ. Maryland notes that nights below about 60°F or above 75°F and days above about 95°F can cause flowers and small fruit to drop; Missouri warns that air temperatures above about 94°F or below 50°F can reduce fruit set.[5][3] The practical conclusion is consistent: peppers set fruit best in a warm but not extreme window.
When summer heat temporarily stops fruit set, keep the plant healthy instead of repeatedly changing fertilizers or spraying the flowers. Healthy peppers often resume setting fruit when nights moderate.[5]
Blossom-end rot and sunscald
Blossom-end rot appears as a dark, sunken or leathery area at the blossom end of a developing pepper. Calcium is involved in the disorder, but the useful home-garden response is not automatically to add calcium. Moisture stress, root restriction, root damage, rapid growth, and conditions that interrupt calcium movement into expanding fruit can all contribute. Missouri and Minnesota both emphasize consistent moisture; Maryland likewise connects dry conditions with blossom-end rot.[3][1][4]
Sunscald is different: exposed fruit develops pale, tan, or papery damage where intense sunlight and heat hit tissue that lacks enough leaf protection. A healthy canopy and plant support matter. Defoliation from disease can therefore create a second problem even when the disease itself never infects the fruit.[1][7]
Preventing common pepper diseases
Good prevention is mostly boring—and that is a compliment. Use clean seed/transplants, rotate where space allows, avoid chronically wet soil, reduce splash onto leaves, and do not work heavily in wet foliage when a bacterial disease is active.
Maryland Extension describes bacterial leaf spot as a disease that can arrive on seed or transplants, spread by splashing rain and contact with wet plants, and cause defoliation that then exposes fruit to sunscald.[7] If spots appear, identify the pattern before reaching for a spray.
Drainage deserves special emphasis because peppers are vulnerable to Phytophthora blight in wet sites. Missouri Extension notes that overwatering or poorly drained soil can trigger serious disease, and Maryland’s commercial guidance likewise emphasizes raised or well-drained beds in problem areas.[3][8]
Harvest basics
Most peppers are edible while green and immature, then change color, sweetness, flavor, and sometimes heat as they mature. Maryland recommends cutting pods rather than pulling them because mature pepper branches can be brittle.[4]
If your goal is maximum ripe flavor from Jimmy Nardello, let representative fruit reach full red. Fish Pepper gives you a broader visual sequence—pale/striped through orange and red—so you can harvest for a particular kitchen use or appearance. For seed saving, wait for full seed maturity rather than merely market size.
In-season pepper troubleshooting
Start diagnosis with what changed recently. Weather, watering, root conditions, and canopy loss explain a surprising number of midsummer pepper problems.
End-of-season cleanup and rotation
Remove dead plants and badly diseased residue rather than leaving a dense mat around next year’s crop. Clean reusable stakes, clips, cages, and containers before storage. If disease was present, avoid casually moving contaminated soil or plant debris into a new pepper bed.
Peppers share important diseases with other solanaceous crops. Minnesota recommends choosing a location where tomatoes, potatoes, peppers, eggplants, and tomatillos have not grown for the previous three or four years where garden space makes that possible.[1] Small gardens cannot always rotate perfectly, so combine rotation with sanitation, good drainage, clean transplants, and container-media replacement when needed.
GROW THESE PEPPERS
Put the guide to work.
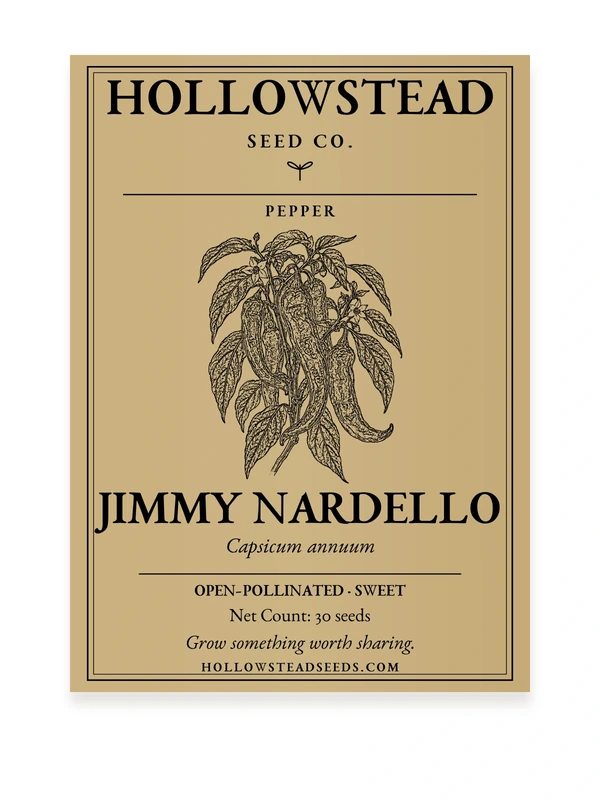
Jimmy Nardello and Fish Pepper use the same fundamentals but reward different harvest goals: one is a sweet frying pepper; the other is a historic hot pepper with variegated foliage and multicolor fruit.
HOLLOWSTEAD SEED
Jimmy Nardello Sweet Pepper Seeds
$4.49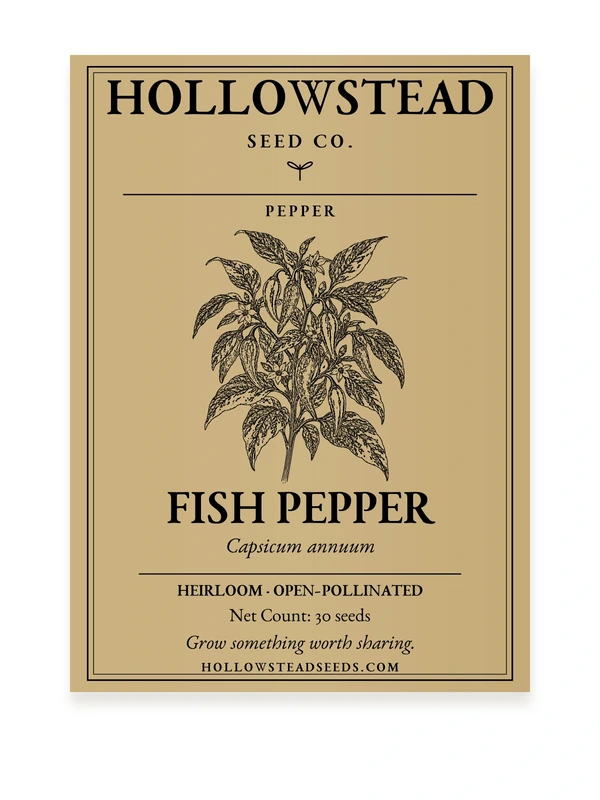
HOLLOWSTEAD SEED
Fish Pepper Seeds
$3.99KEEP LEARNING
Related Hollowstead guides
TROUBLESHOOTING
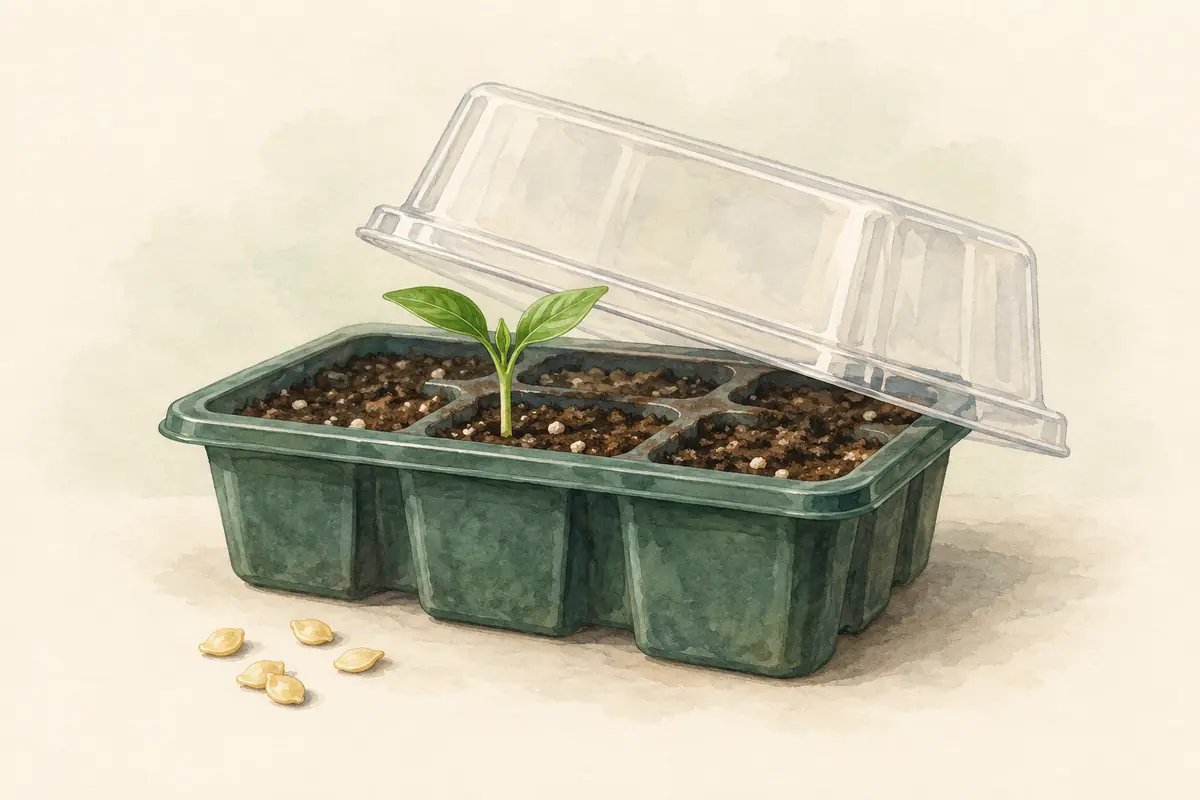
Why Pepper Seeds Take So Long to Germinate
Troubleshoot slow pepper germination by checking root-zone temperature, moisture and oxygen, sowing depth, seed age, heat-mat use, damping-off symptoms, and when to start a backup sowing.
Read the guide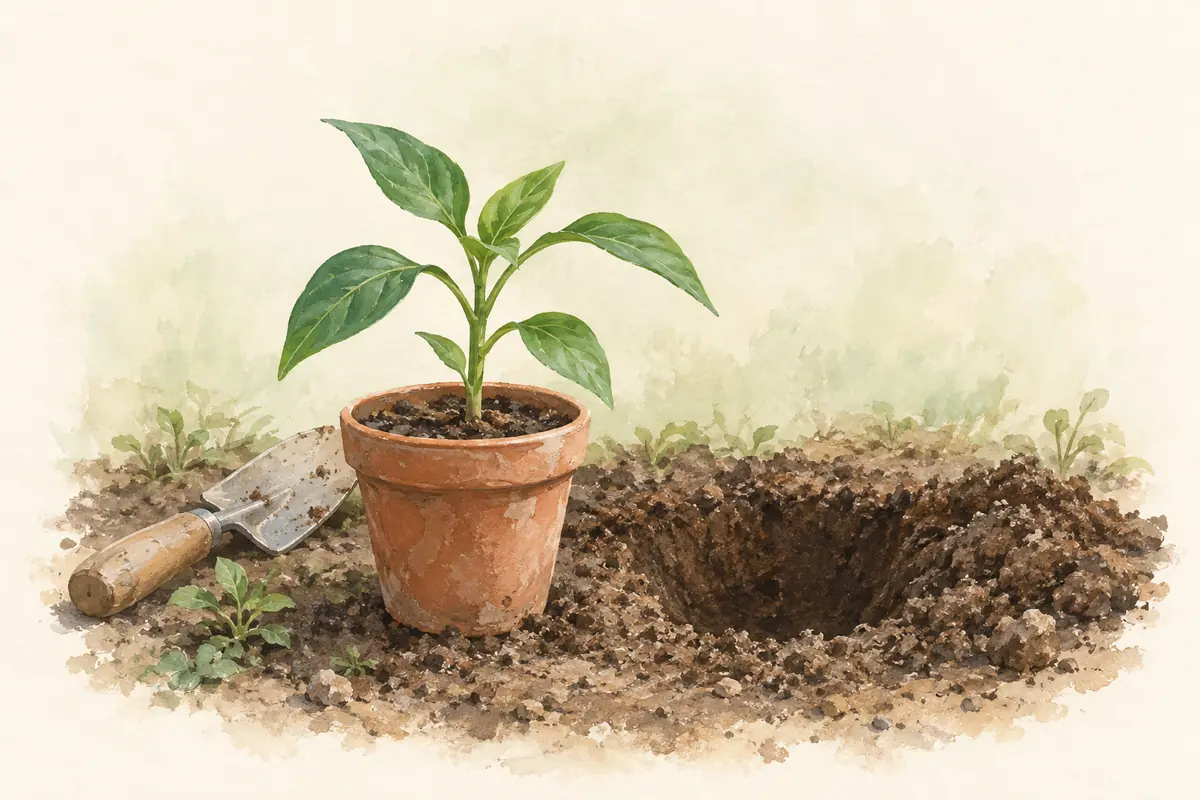
TRANSPLANTING
How to Harden Off and Transplant Pepper Seedlings
Move pepper seedlings outdoors with a flexible hardening timeline, readiness checks, sun and wind progression, warm-weather transplant timing, correct depth and spacing, and first-week stress care.
Read the guide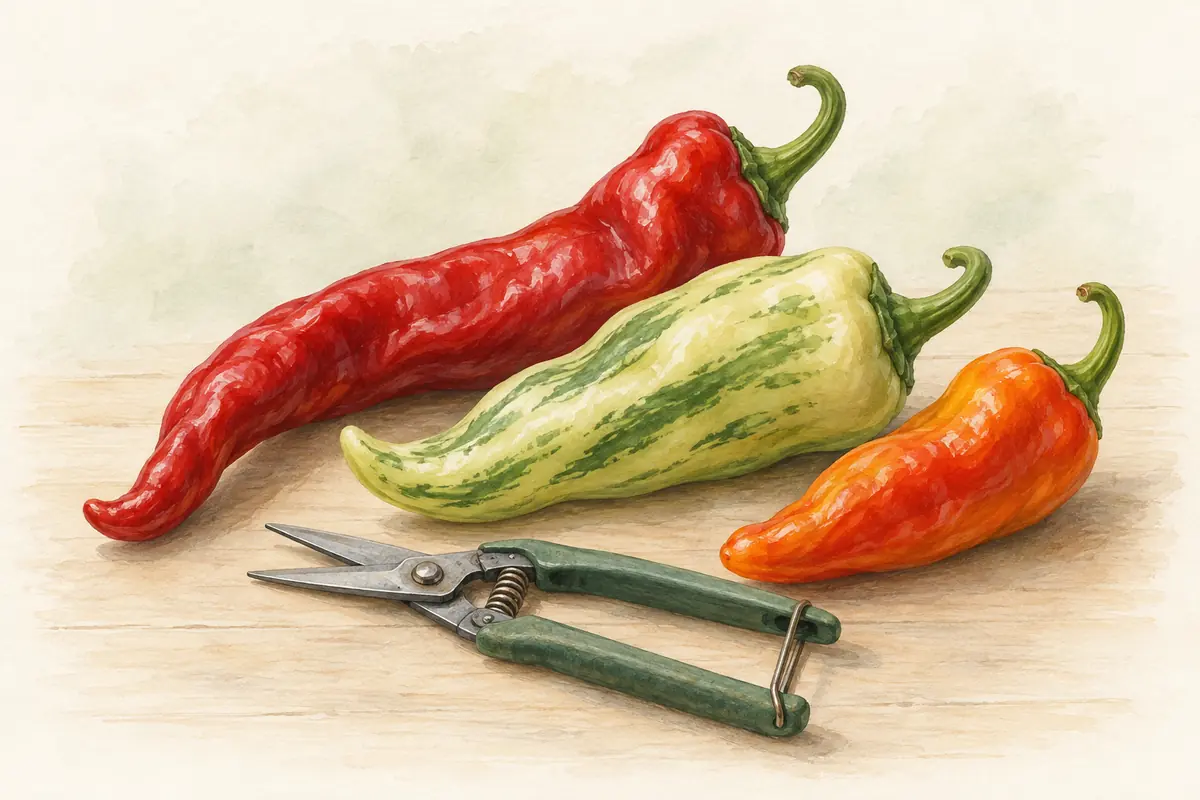
HARVEST GUIDE
When and How to Harvest Peppers
Choose the right pepper harvest stage for green eating, full ripe flavor, continued production, storage, or seed saving, with specific cues for Jimmy Nardello and Fish Pepper.
Read the guideFrequently asked questions
Why are pepper seeds slower than tomato seeds?
Pepper seed commonly takes longer to emerge, especially when the medium is cool. Warm root-zone temperatures are the most useful way to make germination more predictable.
Do pepper seedlings need a heat mat forever?
No. Bottom heat is mainly a germination tool. After emergence, strong light, airflow, sensible temperatures, and root room matter more.
Can I plant peppers deeply like tomatoes?
Do not use deep tomato-style planting as the default. Pepper transplants are normally planted at approximately the same soil level they occupied in the container.
Why did my pepper plant stop setting fruit during summer?
Extreme heat—especially hot nights—can interrupt pepper fruit set. Keep the plant healthy and evenly watered; production often resumes when conditions moderate.
Do peppers need calcium fertilizer to prevent blossom-end rot?
Not automatically. Blossom-end rot reflects calcium not reaching developing fruit, which is often tied to moisture and root-zone stress. Test the soil before adding calcium if deficiency is uncertain.
Sources & further reading
- University of Minnesota Extension Growing peppers in home gardens https://extension.umn.edu/garden-and-home/yard-and-garden/gardening-in-minnesota/growing-peppers
- Seed Savers Exchange Growing Guide: Peppers https://seedsavers.org/grow-pepper/
- University of Missouri Extension Growing Sweet Peppers in Missouri https://extension.missouri.edu/publications/g6372
- University of Maryland Extension Growing Peppers in a Home Garden https://extension.umd.edu/resource/growing-peppers-home-garden
- University of Maryland Extension Poor Blossom and Fruit Set of Vegetables https://www.extension.umd.edu/resource/poor-blossom-and-fruit-set-vegetables
- University of Missouri Extension Germination 101 https://extension.missouri.edu/news/germination-101
- University of Maryland Extension Bacterial Leaf Spot on Peppers https://www.extension.umd.edu/resource/bacterial-leaf-spot-peppers
- University of Maryland Extension Peppers — Phytophthora Blight guidance https://extension.umd.edu/sites/extension.umd.edu/files/2026-02/Peppers.pdf
- University of Maryland Extension — Starting Vegetable Seeds Indoors https://extension.umd.edu/resource/starting-vegetable-seeds-indoors
Hollowstead Growing Notes
A little help for your next growing season
Practical sowing advice, help choosing seeds, and occasional Hollowstead shop news. Usually one or two emails a month, plus a short welcome note.
Choose your topics and frequency after you confirm. Our guides and planting calendar are always free.