
BEAN GROWING
Growing Beans From Seed: The Complete Guide
Grow beans with confidence from direct sowing through harvest. Learn when soil is warm enough, how deeply to sow, when climbing beans need support, how succession planting works, and how to diagnose common early problems.
BeansSeed startingBeginner → advanced
Published by Hollowstead Seed Co. · How this guide is prepared
Quick answer
Most garden beans are easiest when direct sown into warm, well-drained soil. Missouri Extension uses about 65°F soil temperature as a practical green-bean threshold in Missouri, while Utah State notes that emergence is fastest when soil is roughly 65–85°F.[1][2]
Plant common snap beans about an inch deep, keep moisture even rather than saturated, and put supports in place before pole or yardlong beans begin to run. During flowering and pod sizing, water stress can reduce yield; excess nitrogen can also produce impressive leaves at the expense of pod set.[2][3]
The short version: wait for warm soil, sow directly, build climbing support first, use a soil test instead of heavy feeding, keep flowering plants evenly moist, harvest snap beans before seeds bulge, and let selected pods mature fully only when you are intentionally saving seed.
Beans at a glance
| Decision | Useful starting point |
|---|---|
| Indoor starting | Usually unnecessary; direct sowing is simpler for common garden beans |
| Soil temperature | About 65°F is a useful Missouri threshold for common snap beans |
| Depth | About 1 inch for common beans; follow the packet for a specific crop |
| Common-bean emergence | About 7–10 days in 65–85°F soil; cooler soil can delay seedlings. Diagnose a missing row before reseeding. |
| Sun | Full sun; Maryland recommends at least 6 hours, preferably more |
| Fertility | Low-to-moderate need; soil test before adding nitrogen |
| Critical water stage | Flowering and pod sizing |
| Support | None for true bush beans; sturdy trellis for pole and yardlong beans |
| Snap harvest | Firm, crisp pods before seed bulges become pronounced |
Royal Burgundy is a common bean (Phaseolus vulgaris). Red Noodle is a yardlong bean in the cowpea group (Vigna unguiculata), so it should not be treated as merely a longer version of a cool-tolerant snap bean.
- Warm the seedbedWait until frost danger is past and the soil is warm enough for rapid emergence.
- Sow directlyPlant at the correct depth into moist, well-drained soil and install supports for climbers.
- Establish rootsControl weeds shallowly, mulch after soil warms, and avoid saturated soil.
- Protect floweringKeep moisture steady and avoid excess nitrogen as flowers and pods form.
- Harvest repeatedlyPick snap and yardlong beans at their tender stage to keep quality high and production moving.
- Finish seed intentionallyLeave selected healthy pods past eating maturity until the seed is fully mature and dry.
When to plant beans
Common beans are warm-season annuals, but the soil matters more than a date on the calendar. Missouri Extension notes that green beans may fail to emerge when soil is too cold and gives about 65°F as a useful threshold; Maryland similarly recommends planting after frost danger when soil has warmed.[1][3]
Yardlong beans need still more warmth. Maryland describes asparagus or yardlong beans as warm-season crops that need a long growing season, and UF/IFAS describes long bean as a subtropical/tropical legume suited to hot conditions.[3][7] A Red Noodle sowing can therefore lag in cool spring weather even when common bush beans are already comfortable.
Do not reward cold soil with more seed. If an early row is sitting in chilly, wet ground, a later sowing into genuinely warm soil can emerge faster and end up ahead.
Bean sowing steps for the current Hollowstead varieties
- Both stocked beans use about 1-inch sowing depth and 4–6-inch final spacing. Royal Burgundy is a bush; Red Noodle needs a trellis and warmer conditions.
How to sow beans
For common bush and pole beans, about 1 inch deep is a useful home-garden starting point. Utah State recommends roughly 1 inch deep and 2–3 inches apart for common beans, while Maryland gives 2–4 inches in-row for bush snap beans and 4–8 inches for pole beans.[2][3] Use the specific packet when it differs.
- Prepare a loose seedbed that drains after rain.
- Install poles, netting, or another trellis before sowing climbers.
- Plant into moist soil at an even depth.
- Water enough to settle soil around the seed, then avoid keeping the row waterlogged.
- After emergence, thin or adjust spacing before roots and stems become tangled.
Soaking bean seed is not necessary for success. The bigger variables are viable seed, warm soil, moisture, oxygen, and good seed-to-soil contact. Over-soaking can damage seed coats or move seed into a saturated environment without fixing the underlying planting problem.
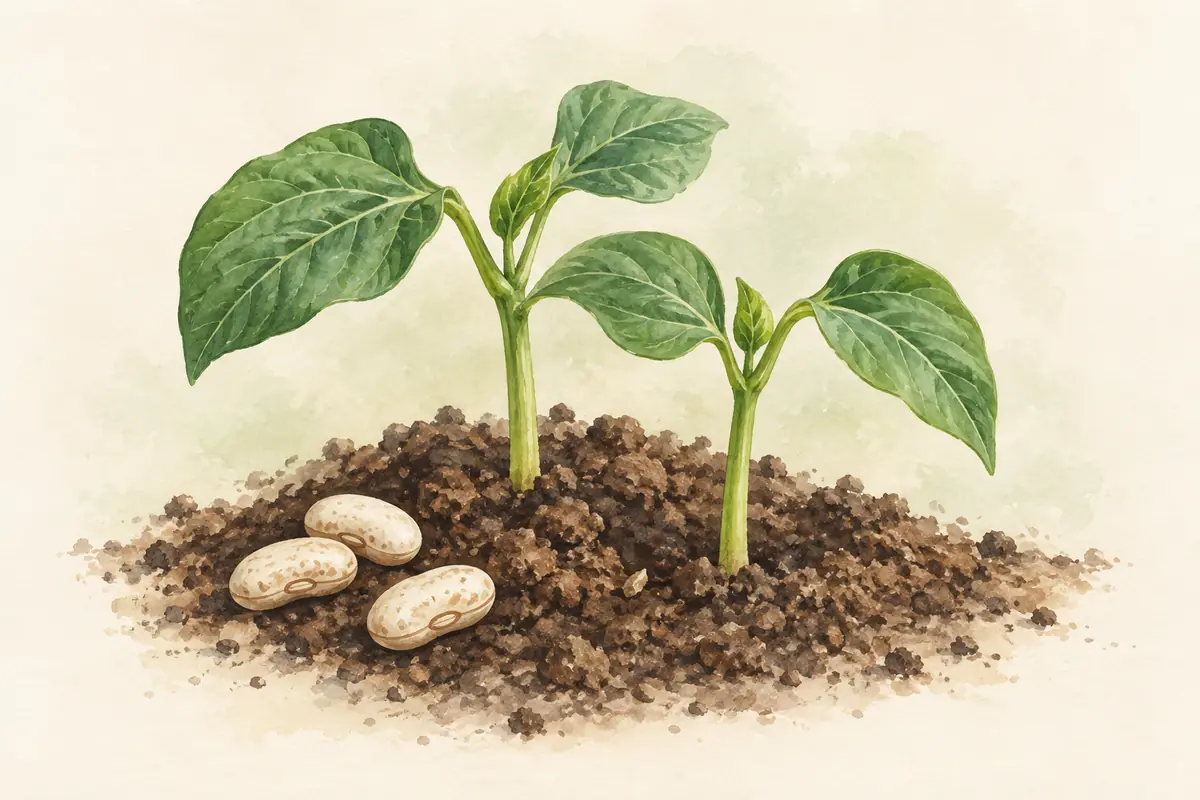
Bean germination sequence from seed through root, shoot and first leaves
- Keep the 1-inch-deep seed zone moist without saturation. Emergence depends on warmth and seed condition, not a fixed calendar.
Soil testing, fertility, and inoculation
Beans are legumes, but “they make their own nitrogen” is an oversimplification. Beans form nodules with compatible Rhizobium bacteria, and those bacteria can fix atmospheric nitrogen. That relationship works best when the right organisms are present and roots are healthy. Utah State still recommends beginning fertilizer decisions with a soil test and describes beans as a relatively low-fertilizer crop.[2]
- Test first
- Use pH and nutrient results before amending
- Drainage
- Roots need oxygen as well as water
- Nitrogen
- Avoid heavy applications that drive leaves over pods
- Inoculant
- Most useful where compatible rhizobia may be absent
- Organic matter
- Useful for structure; avoid fresh high-nitrogen overload
Maryland notes that inoculating bean seed with nitrogen-fixing bacteria may increase yields on land newly planted in beans.[3] That makes inoculant an optional biological tool, not a magic requirement. If beans have grown successfully in that soil before, compatible bacteria may already be present.
Do not automatically side-dress lush bean plants with nitrogen. Missouri says too much nitrogen fertilizer or manure can prevent snap-bean pods from setting, and Utah State similarly warns that extra nitrogen can delay flowering and reduce pod set.[1][2]
Soil pH and the root-nodule partnership
Minnesota Extension places beans in a fairly forgiving pH 6.0–7.0 range and notes that many garden soils already contain compatible Rhizobium populations.[4] That is another reason to test before “correcting” the soil. Raising pH or adding nutrients without evidence can solve a problem that was never there.
Advanced gardeners can learn something by examining roots near flowering. Effective legume nodules are often visible as small swellings on fine roots; active nodules may show pink or reddish tissue when cut because of leghemoglobin. A lack of nodules does not prove nitrogen deficiency by itself, but it can explain why a crop on very low-nitrogen ground is not benefiting from biological fixation.
Inoculant is insurance, not fertilizer. It introduces compatible bacteria. It does not supply phosphorus, potassium, correct pH, fix waterlogging, or rescue roots from compaction.
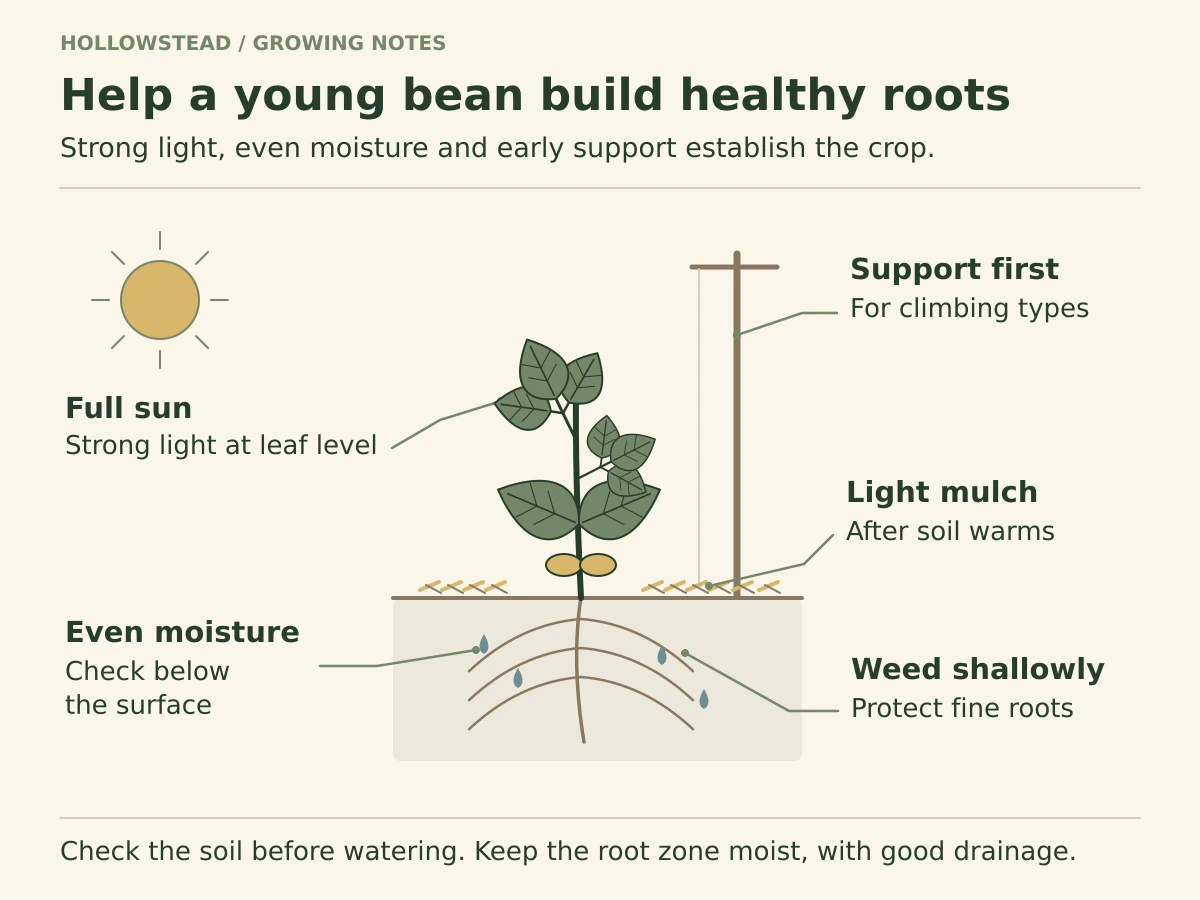
Root-zone water and weed management
Even moisture matters most when beans are flowering and sizing pods. Utah State notes that drought during and after flowering can cause flower abortion, smaller pods, and stringier texture.[2] Minnesota uses about an inch of rainfall per week as a general starting point but stresses checking the actual depth of soil moisture.[4]
Beans have roots near the soil surface as well as deeper roots. Illinois and Minnesota both caution against deep cultivation around established plants because root injury can reduce growth and yield.[4][5] Hoe small weeds while they are young, then use a light organic mulch after the soil has warmed to reduce evaporation and repeated cultivation.
 View full-size diagram
Bush, pole, and yardlong habits change the whole plan
Bush beans trade vertical infrastructure for a more concentrated harvest. Pole beans use height and generally produce over a longer period. Yardlong beans are vigorous warm-weather vines from a different species group and combine a climbing habit with greater heat demand.[1][3][7]
Maryland recommends sturdy 6–8-foot supports for pole beans. UF/IFAS reports long-bean vines reaching roughly 9–12 feet and notes that a 6-foot trellis can still provide useful support and harvest access as vines continue across the top.[3][7]
For a side-by-side choice, see the bush vs. pole vs. yardlong bean comparison.
Compare trellis height, anchoring, and training for pole and yardlong beans before sowing a climbing variety. Royal Burgundy is a bush bean and does not need that climbing structure.
Succession planting
Bush beans are especially well suited to succession sowing because a planting tends to deliver heavily for a limited period. Utah State suggests new sowings every 14–21 days during the suitable season, while Maryland notes that bush beans commonly produce for about three weeks before declining naturally.[2][8]
For Missouri, the useful season is broader than one spring planting: Missouri Extension explicitly notes that green beans can also make a good fall crop.[1] Work backward from your expected first frost using the variety’s days to maturity plus a weather buffer; autumn growth slows as days shorten.
Succession is not the same as planting everything every two weeks. Bush beans benefit most from repeated sowings. Productive pole beans may keep yielding from one planting, while heat-loving yardlong beans are usually better matched to the warmest part of the season.
Flowering and pod set
A healthy-looking bean can flower without setting well. Missouri identifies three common causes: hot, dry weather can abort blossoms; too much nitrogen can suppress pod set; and waterlogged soil can also prevent pods from setting.[1] Utah State adds that temperatures above about 95°F combined with dry conditions can trigger flower drop.[2]
Before adding fertilizer to a nonfruiting plant, check recent weather and the root zone. If the soil has alternated between bone-dry and saturated, or if nights and days have been unusually hot, stabilizing conditions is usually more useful than applying another product.
Disease prevention and garden hygiene
Bean foliage is vulnerable to several bacterial and fungal diseases, and simple habits can reduce spread. Illinois recommends planting disease-free seed, avoiding contact with wet bean plants, and removing bean debris when bacterial blight is a concern.[5]
- Water the root zone rather than routinely wetting foliage late in the day.
- Give rows enough air movement to dry after rain or dew.
- Do not harvest or brush through plants while they are wet when disease is present.
- Remove badly diseased residue rather than composting it casually back into the same bed.
- Control weeds without repeatedly wounding shallow roots.
If a problem is spreading, identify it before reaching for a treatment. Mosaic viruses, bacterial blights, anthracnose, root rots, and environmental stress can all reduce pod production, but they do not share one cure.
Common pests worth scouting before they become a mystery
Maryland’s bean guidance lists Mexican bean beetle and spider mites among recurring bean problems.[3] The useful habit is routine scouting rather than memorizing every pesticide option. Look under leaves, compare damaged and healthy plants, and identify the pest before treatment.
- Chewed or skeletonized leaves: inspect upper and lower leaf surfaces for beetles or larvae.
- Fine stippling/bronzing in hot, dry weather: inspect for mites and webbing.
- Distorted mottled foliage with poor pod set: consider virus as well as nutrient stress.
- Sudden stand gaps: trace back to roots, stems, and soil rather than assuming insects on the foliage.
Healthy plants can tolerate some cosmetic feeding. The threshold for action should be based on plant vigor and damage progression, not the expectation of flawless leaves.
Harvest basics
Snap beans are harvested for an immature pod: firm, crisp, fully elongated, but before the seed inside has expanded enough to create obvious bulges. Illinois notes that continual harvest before seed maturity encourages plants to keep producing flowers and pods.[5]
Yardlong beans are also eaten immature. UF/IFAS recommends harvesting long beans before seeds fully mature and describes commercial-style daily harvest while pods are tender.[7] A cultivar such as Red Noodle can be longer than the generic 10–12-inch reference, so texture and seed development are more reliable cues than a ruler.
Saving bean seed and closing the season
Common snap beans are one of the friendlier crops for beginning seed savers because they are primarily self-pollinating. Seed Savers recommends letting selected pods mature far past eating quality until faded, dry, and brittle, then shelling fully hardened seed.[6]
Selection matters. Save from healthy plants that match the variety and performed well under your garden conditions. A pod that escaped harvest is not automatically a good seed parent. If maintaining a named common-bean variety, separate different Phaseolus vulgaris varieties enough to reduce insect-mediated crossing; Seed Savers uses 10–20 feet as home-garden guidance and more distance for preservation work.
Yardlong beans are a different species group. Save Red Noodle according to cowpea/yardlong guidance rather than assuming every bean in the garden shares the same isolation biology.
At season end, remove diseased bean debris, label saved seed with variety and year, and record which sowing dates produced the best stand and harvest. Those notes are more valuable next spring than trying to reconstruct the season from memory.
Before committing a planting window to an older packet, use the seed-storage and home germination-test guide. It helps separate an uncertain seed lot from problems in the seedbed.
In-season bean troubleshooting
GROW THESE BEANS
Put the guide to work.
Choose a bean that matches your space and summer conditions, then use the guides above to plan support, sowing, and harvest.
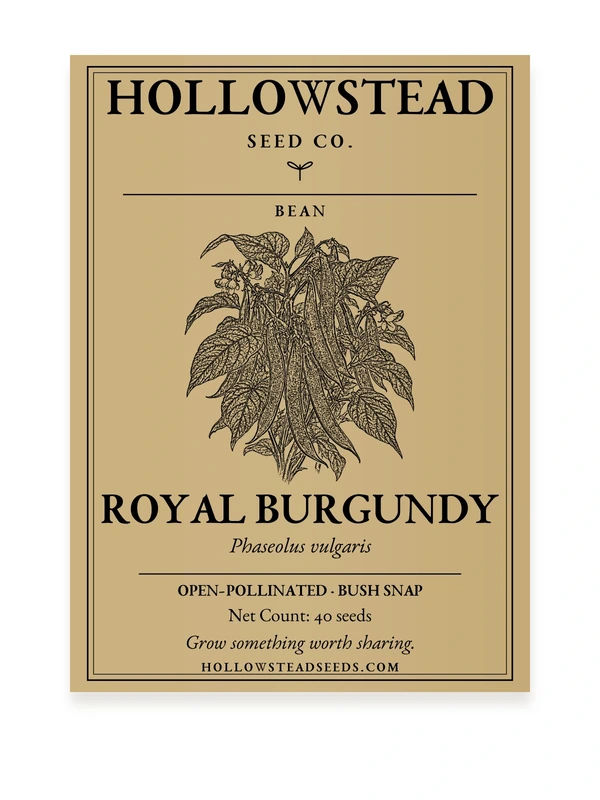
HOLLOWSTEAD SEED
Royal Burgundy Bush Bean Seeds
$4.49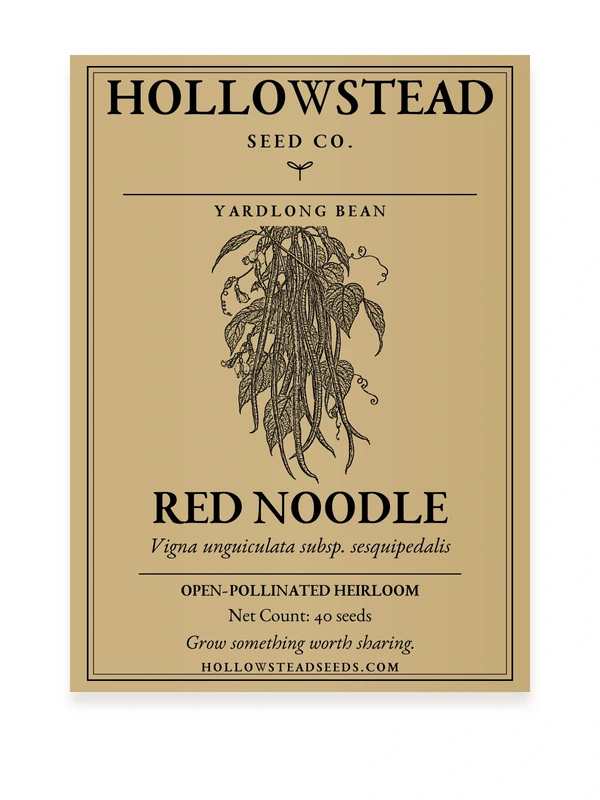
HOLLOWSTEAD SEED
Red Noodle Yard Long Bean Seeds
$4.49KEEP LEARNING
Related Hollowstead guides
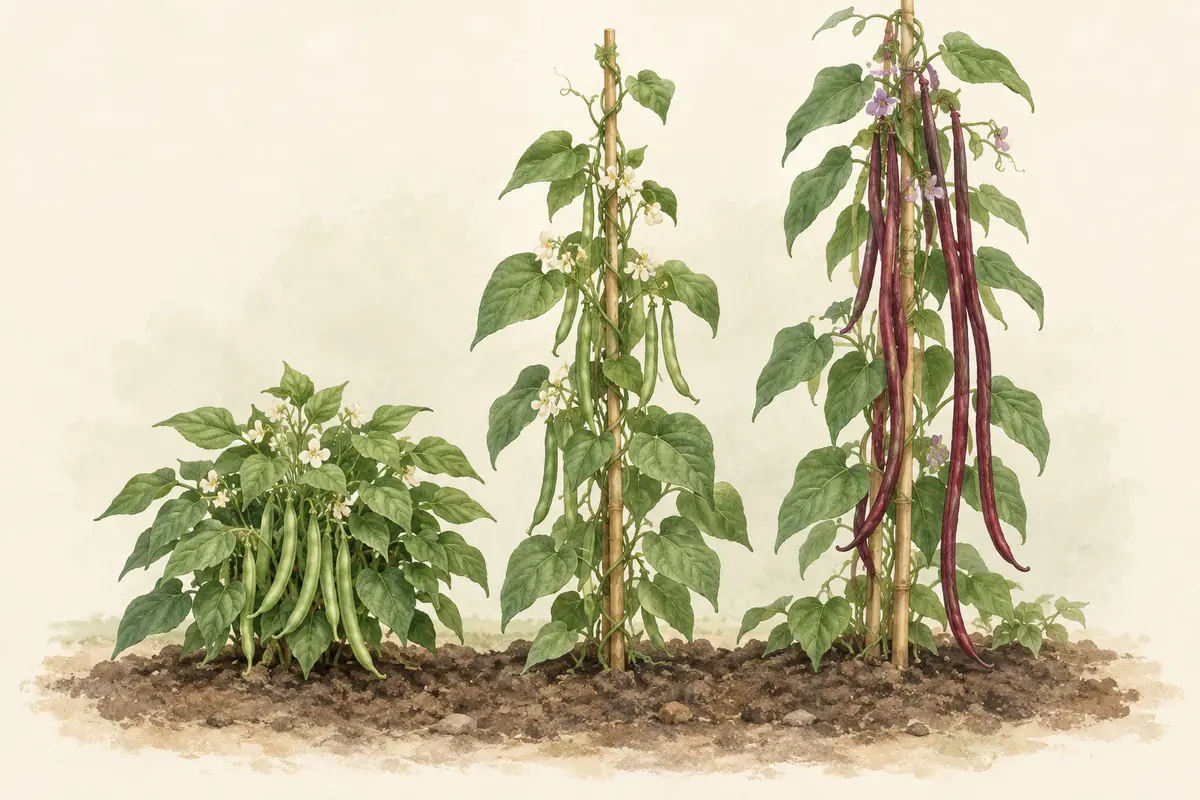
BEAN COMPARISON
Bush Beans vs. Pole Beans vs. Yardlong Beans
Bush, pole, and yardlong beans can all produce tender pods, but they use the garden very differently. Compare support, space, harvest pattern, summer heat preference, and the situations where each growth habit makes sense.
Read the guide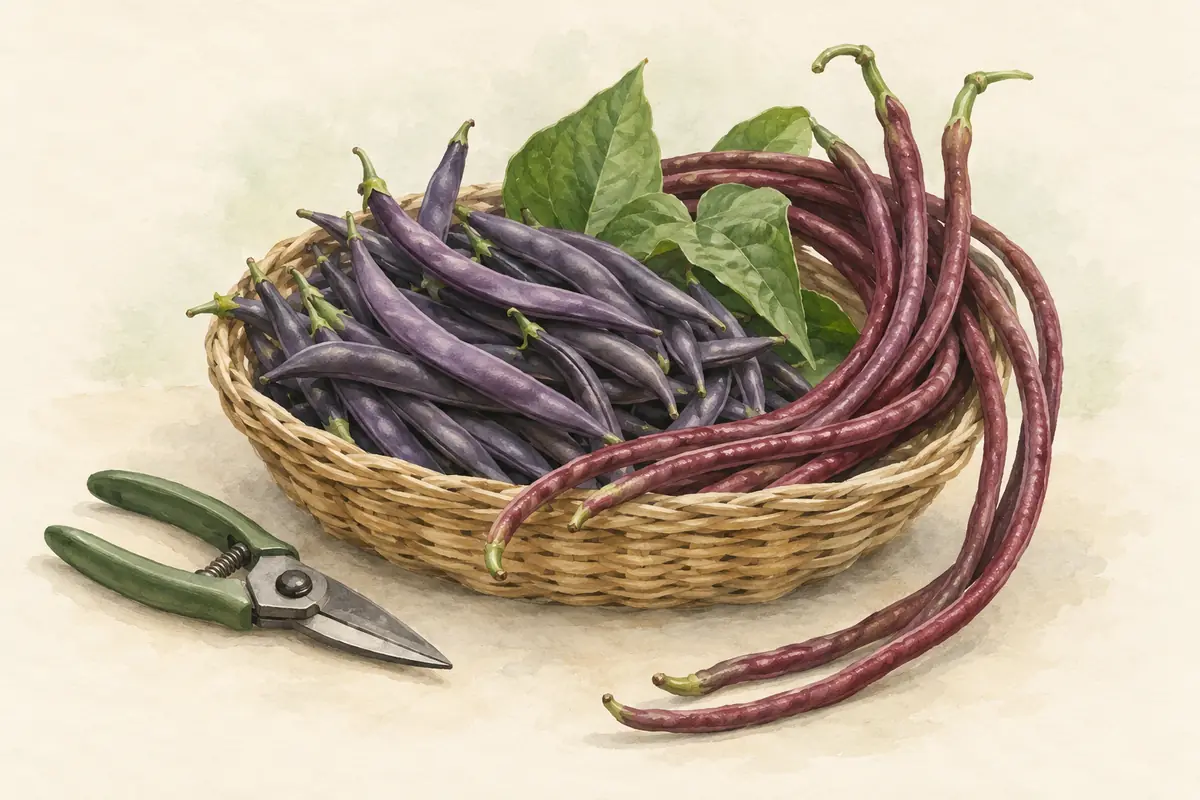
HARVEST GUIDE
When and How to Harvest Beans
Bean harvest quality depends more on pod stage than the date on a packet. Learn the cues for tender snap beans and yardlong beans, how often to pick, how to avoid breaking stems, and when a pod has moved toward shell or dry-bean maturity.
Read the guide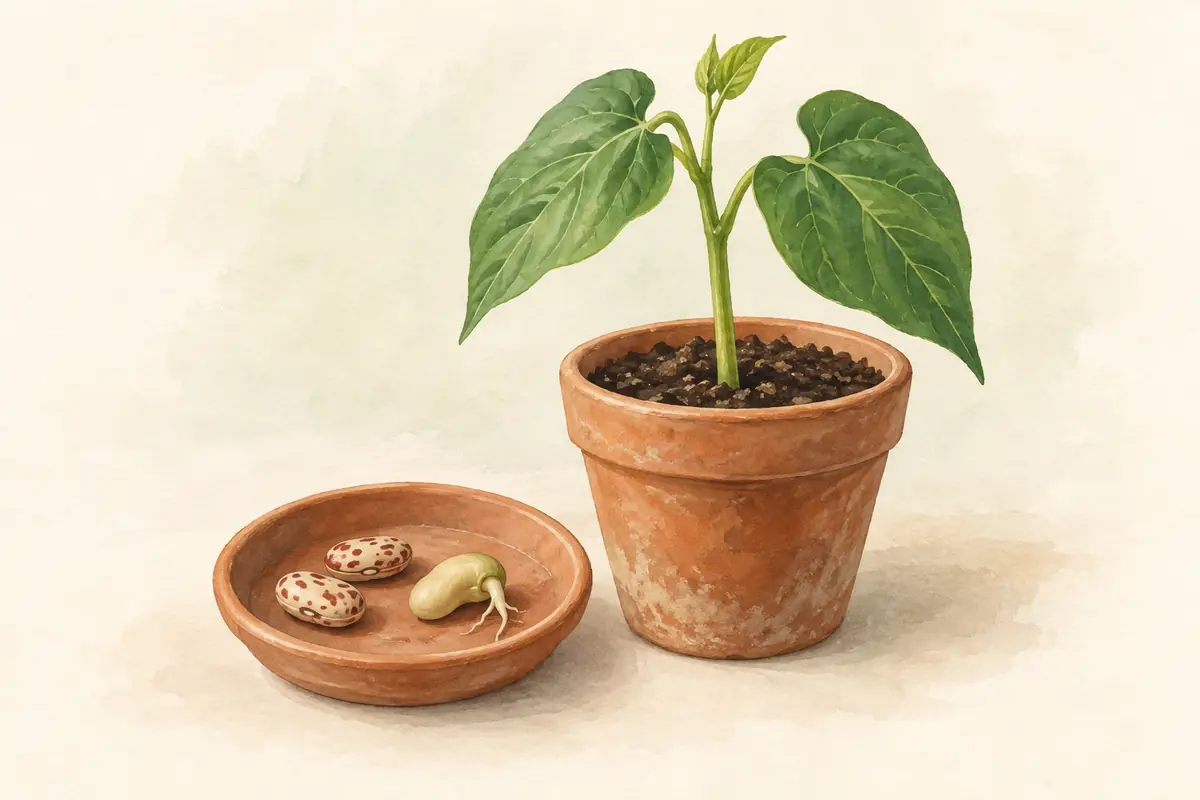
TROUBLESHOOTING
Why Bean Seeds Don’t Germinate: Early Problems & Fixes
Missing bean seedlings usually leave clues underground. Learn how cold and wet soil, drying, crusting, planting depth, damping off, and seedcorn maggot affect emergence—and how to decide whether to wait or replant.
Read the guideFrequently asked questions
Should I start beans indoors?
Usually not. Common garden beans are normally direct-sown into warm soil. Direct sowing also avoids having to transplant a crop that germinates and grows quickly once conditions are right.
How warm should soil be before planting beans?
For Missouri, 65°F is a useful green-bean threshold from MU Extension. Yardlong beans want warmer conditions and should not be rushed into chilly soil.[1]
Do bush beans need a trellis?
True bush beans generally do not. Royal Burgundy is a bush bean. Pole beans and yardlong beans are climbers and need support.
Can I plant another row of bush beans later?
Yes. Succession sowing is one of the easiest ways to spread a concentrated bush-bean harvest, as long as enough frost-free season remains.[1]
Why did my purple beans turn green when cooked?
That is normal for purple-podded common beans such as Royal Burgundy. UMN notes that cooked purple beans appear dark green; this answer is not a cultivar-specific color promise for Red Noodle yardlong beans.[4]
Sources & further reading
- University of Missouri Extension Frequently Asked Vegetable Questions https://extension.missouri.edu/publications/g6400
- Utah State University Extension How to Grow Beans in Your Garden https://extension.usu.edu/yardandgarden/research/beans-in-the-garden
- University of Maryland Extension Growing Beans in a Home Garden https://www.extension.umd.edu/resource/growing-beans-home-garden
- University of Minnesota Extension Growing beans in home gardens https://extension.umn.edu/garden-and-home/yard-and-garden/gardening-in-minnesota/growing-beans
- Illinois Extension Snap Beans https://extension.illinois.edu/gardening/snap-beans
- Seed Savers Exchange Growing Guide: Beans https://seedsavers.org/grow-bean/
- University of Florida IFAS Extension Long Bean—an Asian Vegetable Emerging in Florida https://edis.ifas.ufl.edu/publication/HS1268
- University of Maryland Extension Planning a Vegetable Garden https://extension.umd.edu/resource/planning-vegetable-garden-0
Hollowstead Growing Notes
A little help for your next growing season
Practical sowing advice, help choosing seeds, and occasional Hollowstead shop news. Usually one or two emails a month, plus a short welcome note.
Choose your topics and frequency after you confirm. Our guides and planting calendar are always free.